Introduction
I’ve been drawn to metal for a while, looking to play with the strength of it, the associations people have with it, how you can interact with it. When I say metal, I mean the metal to which I could get access, right there in my store cupoard – aluminium foil. One day I’d like to play about with the patinas you can create when you heat metals like copper up, and perhaps create surface design that reuses discarded metal sheeting in an interior setting. Perhaps that or create figurative sculptures. For this project I stuck with aluminium foil.
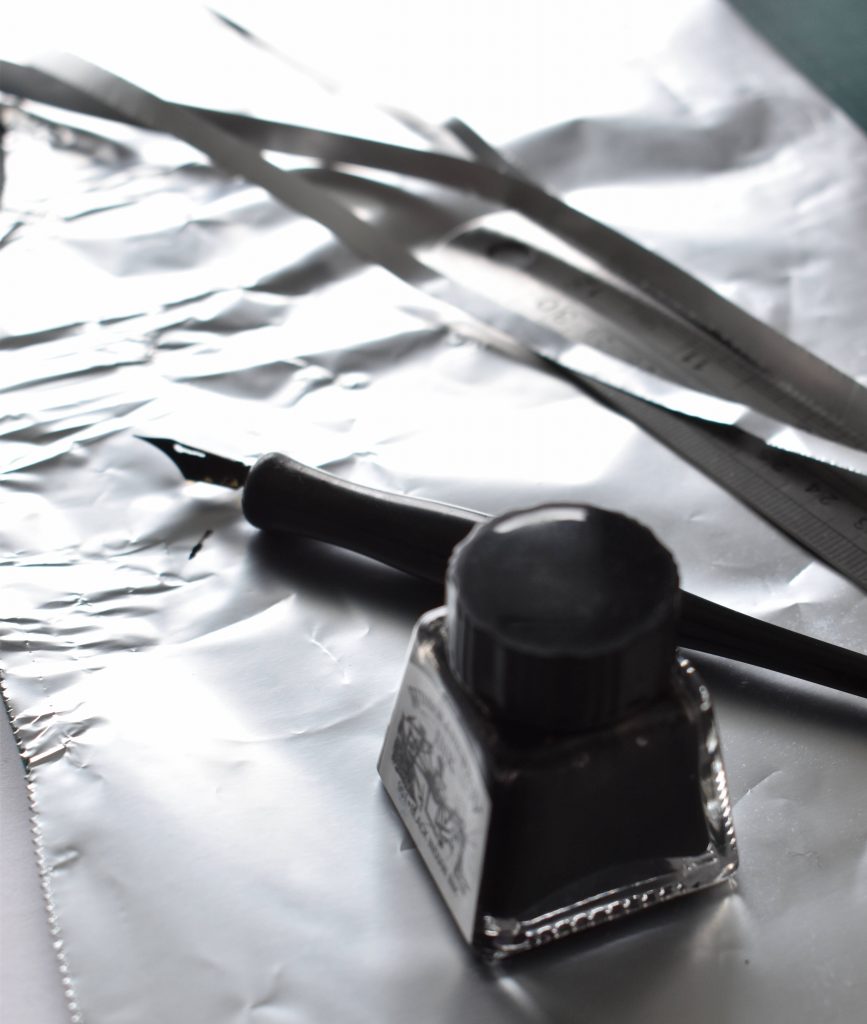
I’ve used it as a surface for a lettering project once before and this project felt like a good excuse to delve a little more into that. Al foil is the ideal version as it is as thin as paper and so the perfect alternative to use as a base. The downside being that it holds every mark you make, it has very little structural rigidty, and it being oxidised it is hard to get below the surface of the sheeting, so every material that you use to mark make (pen and ink or paint washes) is going to sit on the surface and be easily wiped away, and it is easily ripped.
For me though I liked the combination of this version of metal being such a delicate material to work with, ‘delicate’ isn’t something you would normally associate with metal, unless it is rusted and on the point of breaking down naturally that is.
Daily Making: Week 1
I found the daily / new material aspects of this prompt very helpful in that you have a strict timeline to create something quickly, less time to over analyse and produce nothing, and the freedom to make mistakes with a new material. My daily making practice involved three steps:
- Interact in some way with the al sheeting
- *Separately, bring to mind words that you have written before about people you have seen on the street, you can edit these down to a succinct phrase – fewer words have more impact on the reader and it is easier to render fewer words in the daily time you have. (*I say separately as I didn’t want to be restricted by trying to match the imagery in the words at this point)
- Combine the experimental surface with the words in a graphic composition
Here are a few examples of what I achieved in the first week, along with learnings on technique that I picked up as I did these.
Day 1: Metal folded over in square composition +
Blue wash with salt seasoning
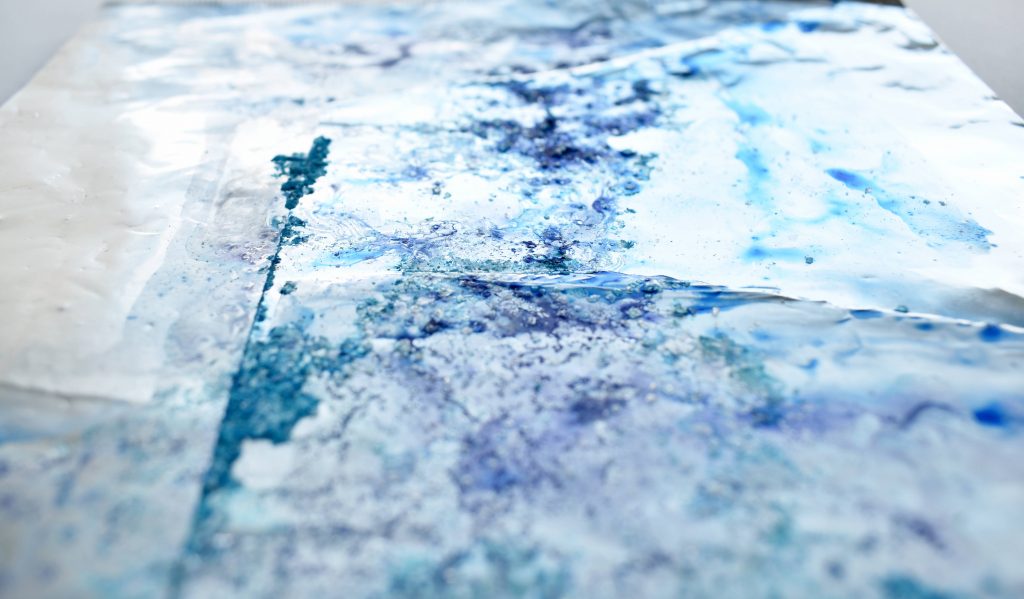
Blue wash with salt seasoning
I folded the foil to create a square composition to see if the folding would add to the eventual graphic effect.
I then washed over this with a blue ink wash, scattered sea salt over the surface which produced the thicker texture on the surface that you can see above. I did love this effect but as it suggested a maritime theme, and my idea was based in cities, I didn’t take this forward into the final composition stage.
Learnings:
Ink washes do work, I had hoped that the salt would scratch the surface or break it down but it sat on top. It did produce an interesting surface, although I would say that this wasn’t an ideal surface for pen and ink writing (my chosen medium for lettering transfer).
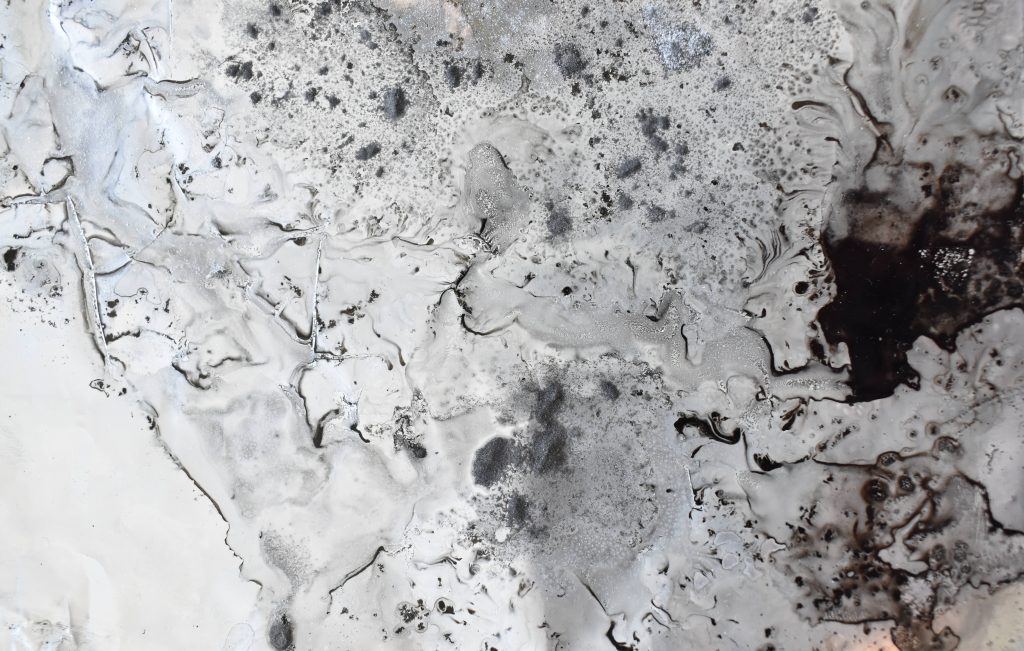
Day 2: Lightly folded + Black washes with baking soda

Black washes with baking soda
Lightly folded foil, black washes and left to dry over the day /night.
The overall effect to me was more graphic on this one, I think I added more paint overall and achieved more of an effect.
Day 3: Folded and cut through to paint underside + First typographic trial
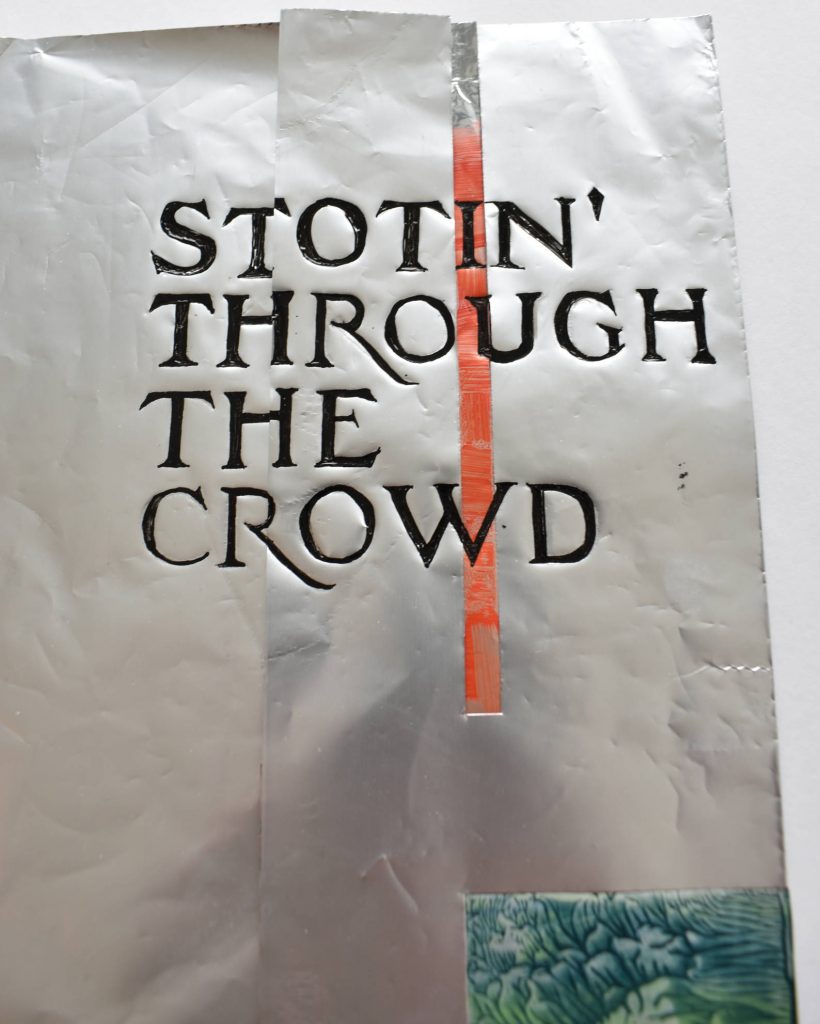
‘Stotin’ through the crowd’ : Walking with great confidence through the crowd
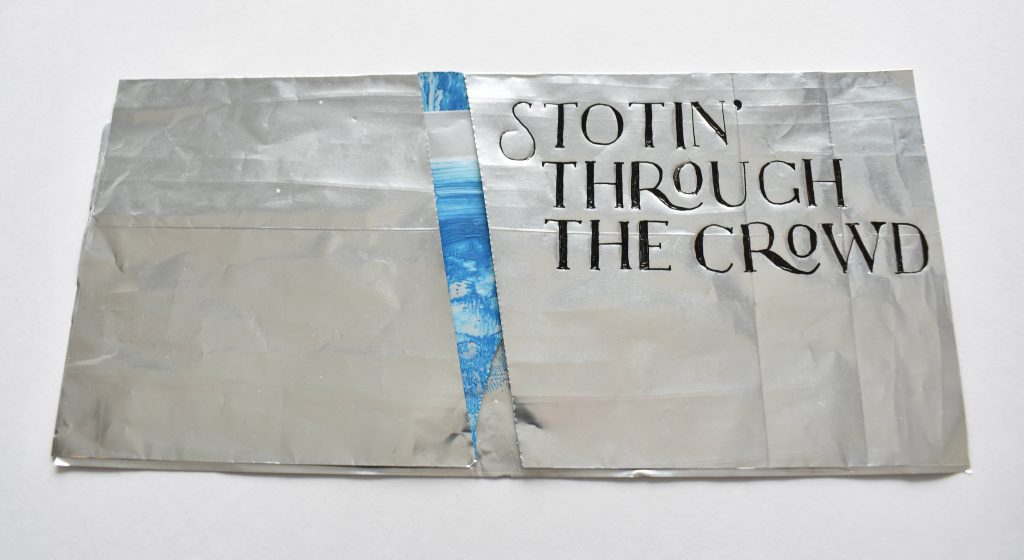
Folded and Cut Through I
For this I used acrylic paint (just in blue as that is my favourite colour and I wanted to get to making) and folded the foil over a couple times. I wanted to see what acrylic would do to the surface and then once this dried, I cut through to reveal the colour below. I liked how this cut through echoed the character walking through both the crowd and traffic.
Typographic Transfer: Overall
I have transferred lettering onto al foil before but this time was different. In that instance I had hand drawn a typeface and then traced it onto the foil, and as the character of the person I was looking to emulate was a little rough around the edges it only added to the effect that my lettering was as well.
For this project though I wanted to choose an existing typeface that I felt represented the character and then accurately render that onto the metal. There were a few lessons from this.
- With every tracing you loose a little detail, so you have to accept that your tracing will give you a loose outline on the foil and thereafter you will have to freehand complete the lettering, looking to match the proportions and intricacies of the original print out by eye.
- The tracing paper will shift slightly with the action of tracing, therefore kerning is going to be a little challenging.
- The more the surface is textured the harder it is to use pen and ink to accurately render a detailed typeface.
Typographic Choice: Overall
A quick note on typographic choice. There is a whole history on each genre that I couldn’t explore here due to time constraints but also because I didn’t realise I was looking for something to represent a modern person inhabiting the street until the end of the project. I had an instinct that that was what I was doing for each person and so that is why I chose modern serif typefaces, because these people were people I had seen recently. One might argue that a sans serif typeface might have been a more obvious choice to suggest the modern person but the end result tended to look like either a political statement or some form of commerical branding project. Also, on a practical legibility level, serif typefaces are generally easier to read, particularly when the background becomes busier.
I liked this typeface but it felt a little too refined to fit the character of the woman in question. At this point I was trying to find the right modern typeface to match this one character and so I tried a different typeface.
Day 4: Folded and cut through to paint underside +
Second typographic trial

Folded Over and Cut Through II
This time I wanted to bring every element into context. So I folded the foil again to get that extra graphic effect. I then used orange and green as the cut out colours to reflect the Irish flag as I saw this woman in Dublin.
Typographic Choice
I chose another modern serif – Zachar Book, this one because it looked more strident and less refined.
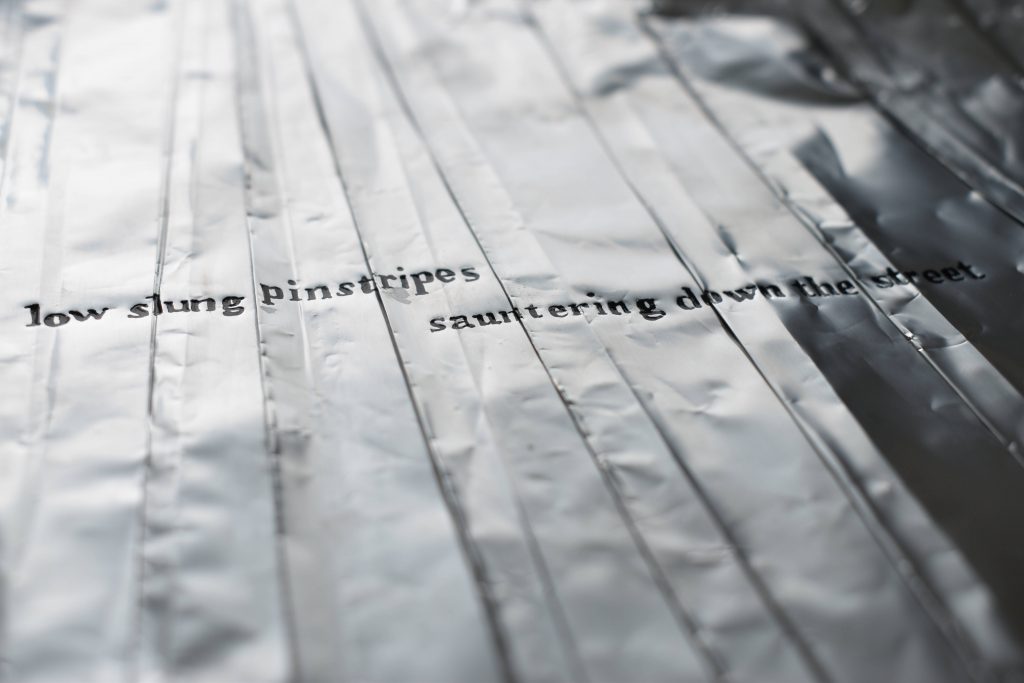
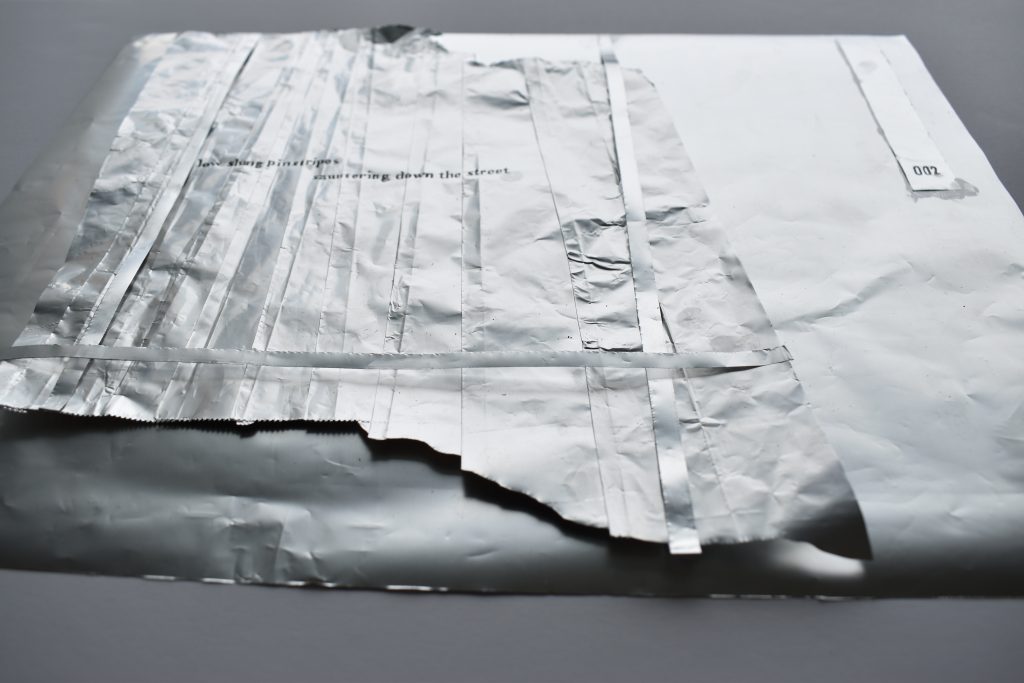
Day 5: Folded at intervals to suggest pinstriped material + Third typographic trial
‘low slung pinstripes sauntering down the street’ : Man walking in downtown Ottawa wearing basketball shorts made out of pinstripe material.

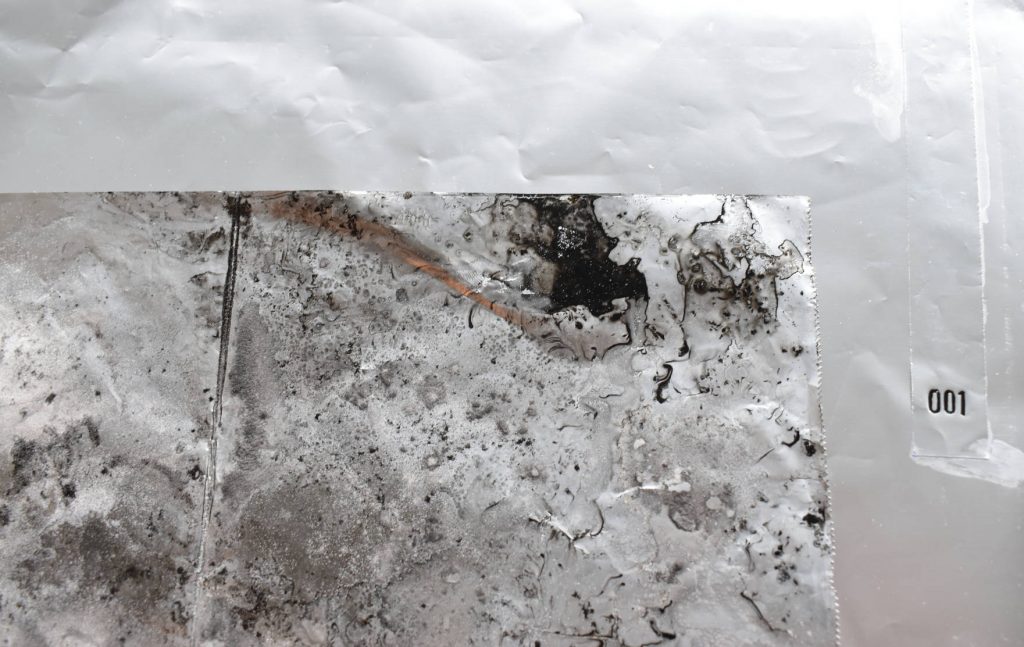
Day 6: Surface + Fourth typographic trial
‘dozing, her cheek resting against the Ottawa street’ : A homeless woman taking a nap on the Ottawa sidewalk


Daily Making: Week 2 – Origin
I love words but the word ‘Origin’ made me think instantly of origin story, the past that formed the character. And when I thought of the characters that I have seen I didn’t like the idea of finding out their past or even their future, I had seen them in that moment and in that moment they were happy. Looking into anything other than that moment felt like a judgemental choice, and I didn’t want that.
Cameron suggested I look wider, what was missing or what connected. Well at least that is what I took from our catch up. I thought of people watching, of people being at ease with themselves in their surroundings, in the street of all places. Where everyone is on display but nobody cares, where there are rules and noise and chatter. You have to be pretty at ease to do your own thing, to be as at ease as if you were at the beach or in the mountains. So I thought the common thing is that they are at ease on the street.
I then thought, this is a snapshot, like those street style blogs that used to be popular. What do people wear when they are being themselves and asserting their identity out there. And the end point for that thought was the magazine. It captures a set moment in time and places it in the most interesting layout to let you people watch, let you take a moment and see what is happening in that cultural slice. So I thought I would try and see what happens when you try and do this with the results of my daily practice.
Zine of the Street: Trial One & Two
So I wanted to try and produce an elegant slice of street life, an aluminium zine, and as that material has many of the same properties as paper I thought I’d give it a try.
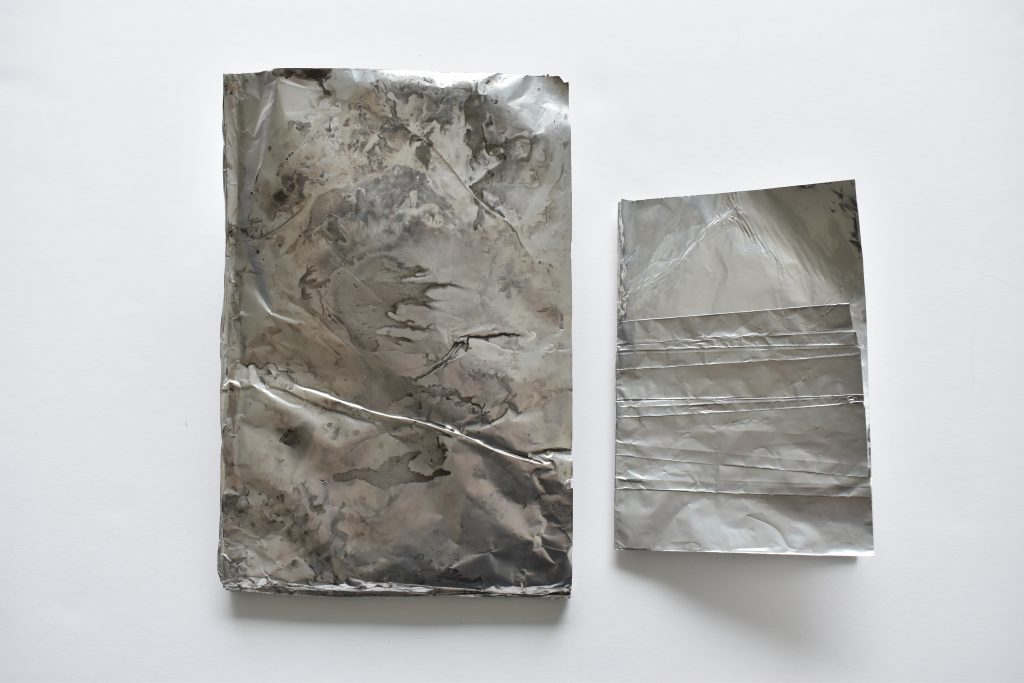
On the right above is my first try, a simple folded piece that has 6 interior pages and then would fold out to a larger poster on the other side. The left above is my second try, a much larger sheet folded down like an older style OS map. The issues I had were a few:
- Was I going to redraw the phrases on these new pages, playing about with layout, and if I was to do that was pen and ink still the best type of transfer method?
- Alternatively, should I simply find a way to incorporate my existing pieces into a zine like format?
- I had done the first pieces through a quick estimate of what looked the right size of type on the screen, before printing the words out and tracing them more or less first time around, making the best of the compositional choices available to me left by those restrictions. The decision to make a zine felt like it needed a more considered use of space and type so I would need to factor that time in, perhaps making this a longer term project.
- How much should surface texture / folding come into the composition of this zine? Would it just be distracting?
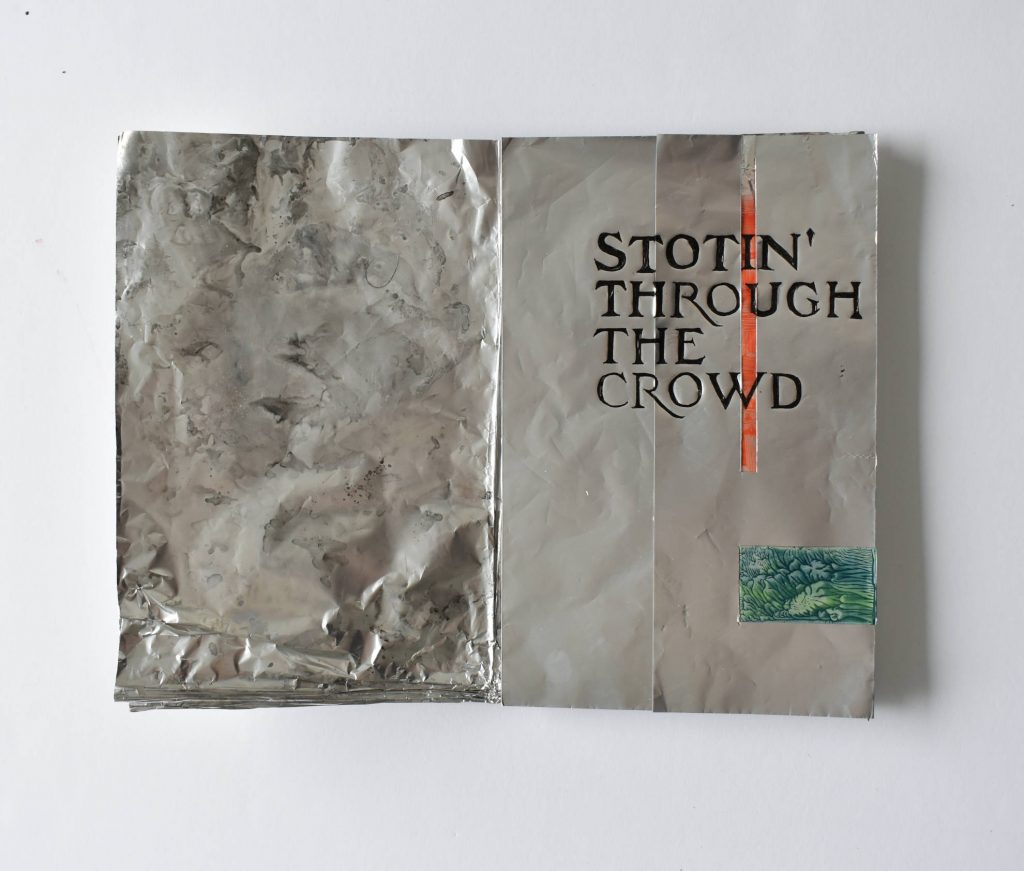
The issues were time constraints and also surface marking. It would take a lot more time to redraw and play with composition. Al foil is obviously highly reflective, one side more than the other. The matt side is easier to work with that way but it also shows a lot of marks. I played with an ink wash on the OS style map folded zine but it became quite distracting and grungy and was moving away from elegant. I also felt like it might be more interesting if the wash was used with discretion as part of an overall composition. So I went with single al sheet ‘pages’ to ‘hold’ some of my existing pieces as below.
Zine of the Street: Work in Progress
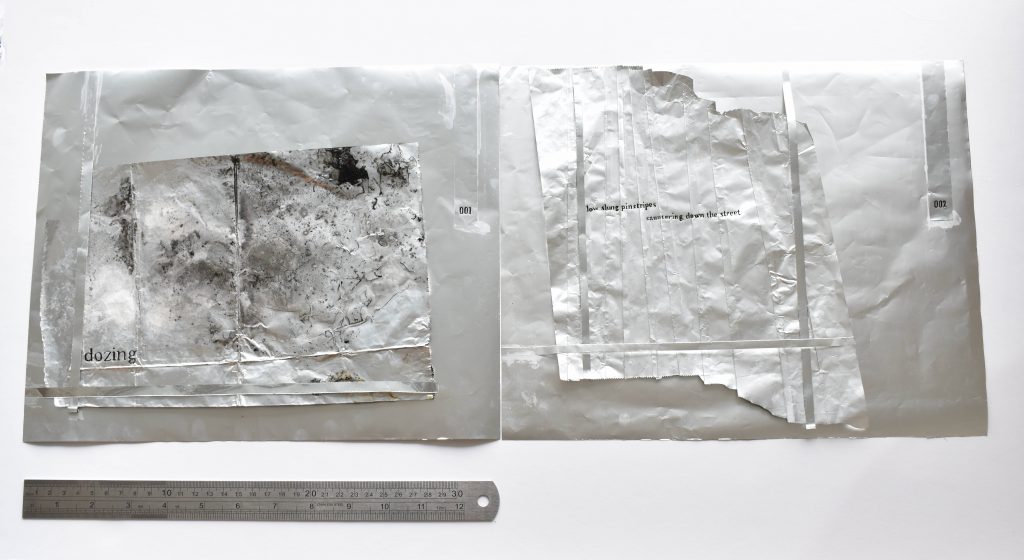
For this prototype layout for my zine I considered a few things:
- I wanted the feel of a composed page and so what graphic elements did I need to have in there – page numbers?
- How should I hold the pieces on the page. I used discrete metal strips and feel that they became part of the page graphics.
- I would have like to add a few more graphic features such as some notes to place each phrase in context, like where I originally saw each person.
- Long term if I continue this project I would like to make this metal magazine something built of layered graphics, composed layouts, all combing together per precisely cut sheet. Likely perfect bound as I think metal rings would be too industrial.