Categories
Grad Design Studio Fall 2021

Waste Time to Reduce Waste

Prompt 4: Inquiry

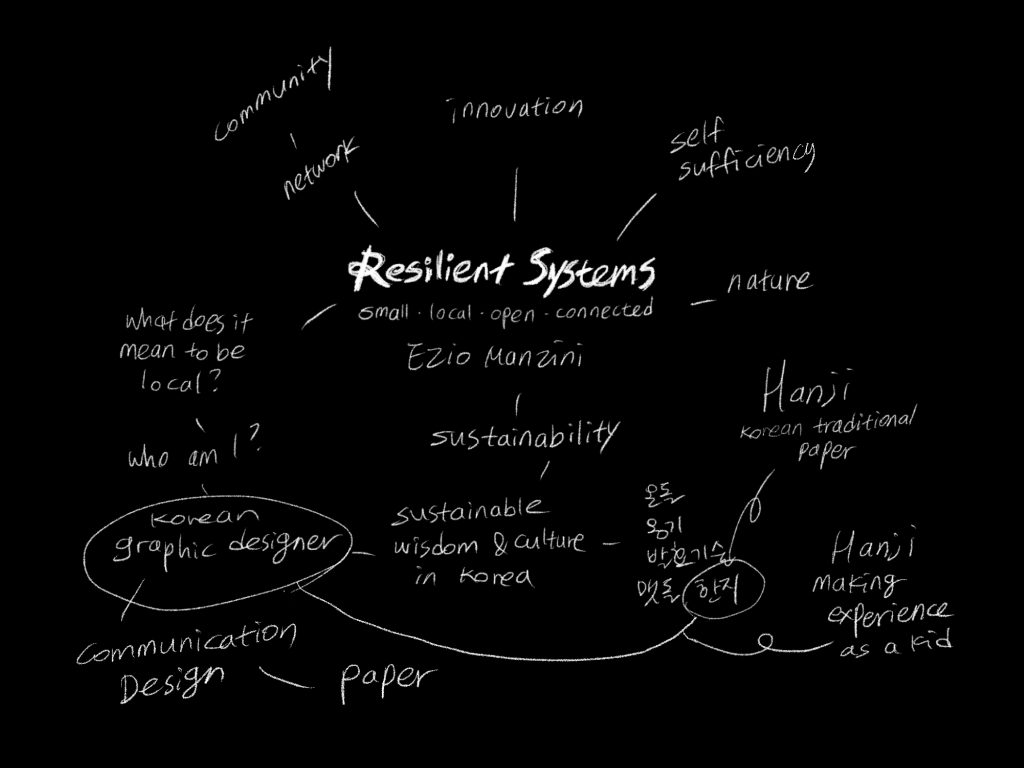
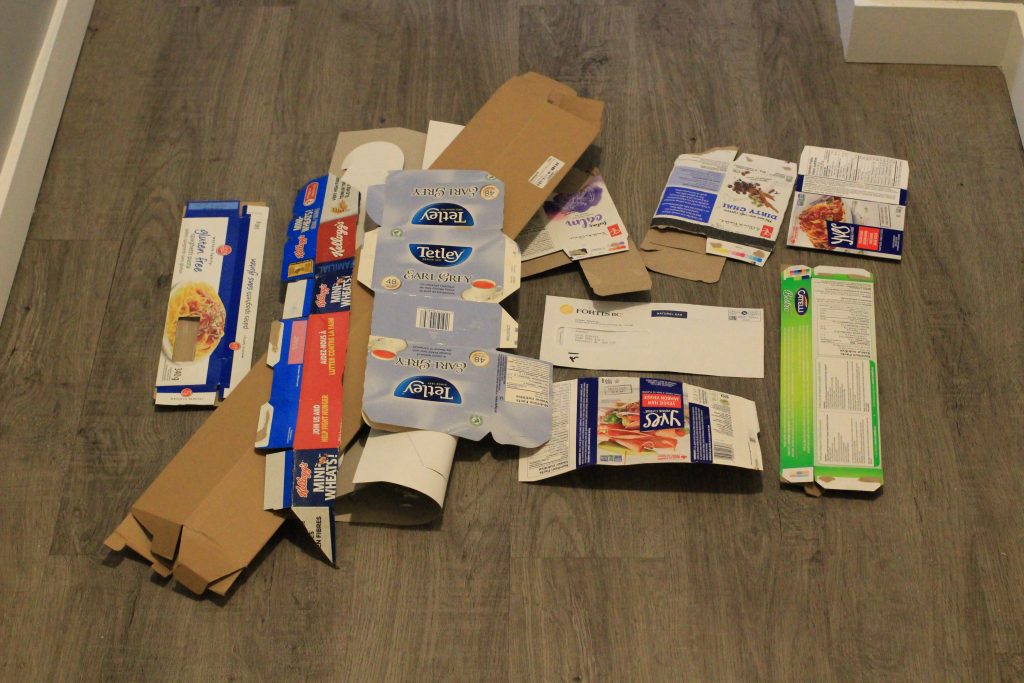
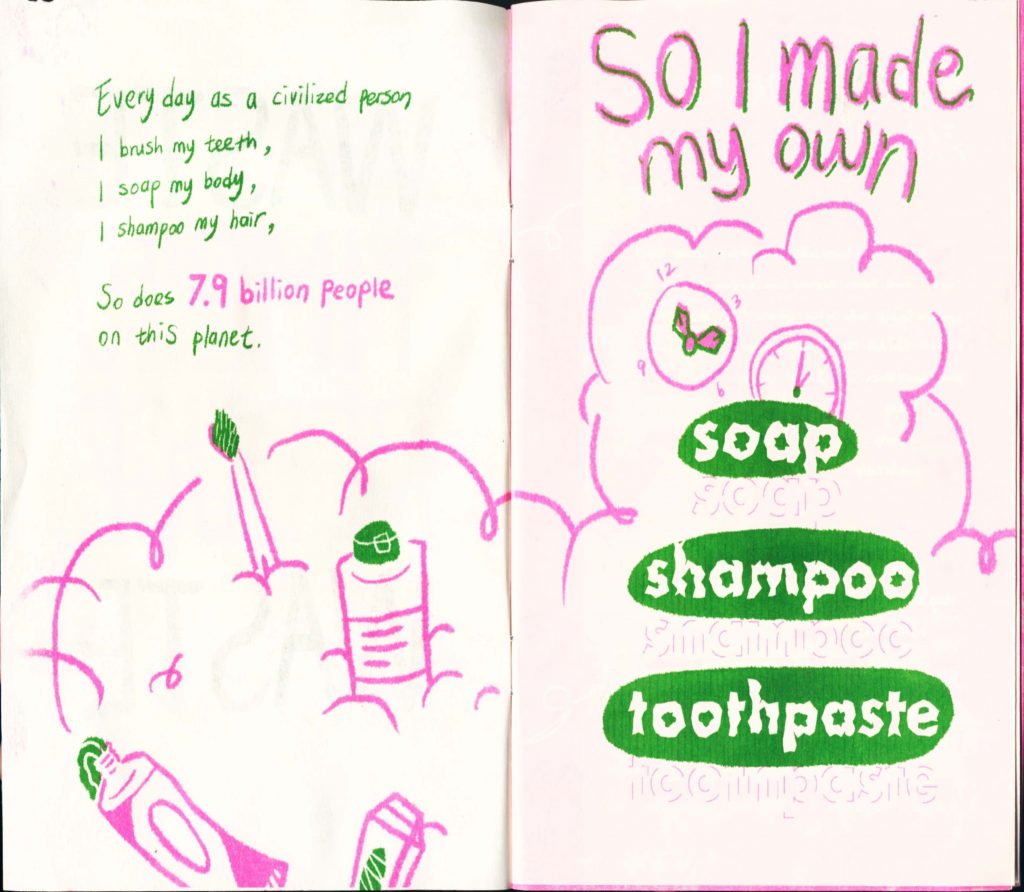
About four years ago, I started learning the environmental impact that a modern human individual causes. I got deeply engaged with low-impact lifestyles and started educating myself to reduce my waste in day-to-day life. I minimized using mass-produced products and started making my toothpaste, hair products, food. During this personal transition, especially after becoming a vegan, my friends and family also began to change their attitudes and practice sustainability on their level. Seeing the impacts I made on other people has motivated me to continue my sustainability journey. However, after moving to Canada for my master’s degree, I noticed how quickly my behaviour has changed. I was consuming things mindlessly. Due to the lack of time management and financial stability, my priority had to be changed. The convenience and efficiency of consumption became more “valuable” to me. This reflection on my personal experience instinctively birthed my research question: What can design do to help people engage with daily making practice rather than short-sighted quick consumption? How can we bring back the good old way of living, where we pay attention to surroundings and make things from scratch with natural materials around us, for individual pursuit of sustainability?

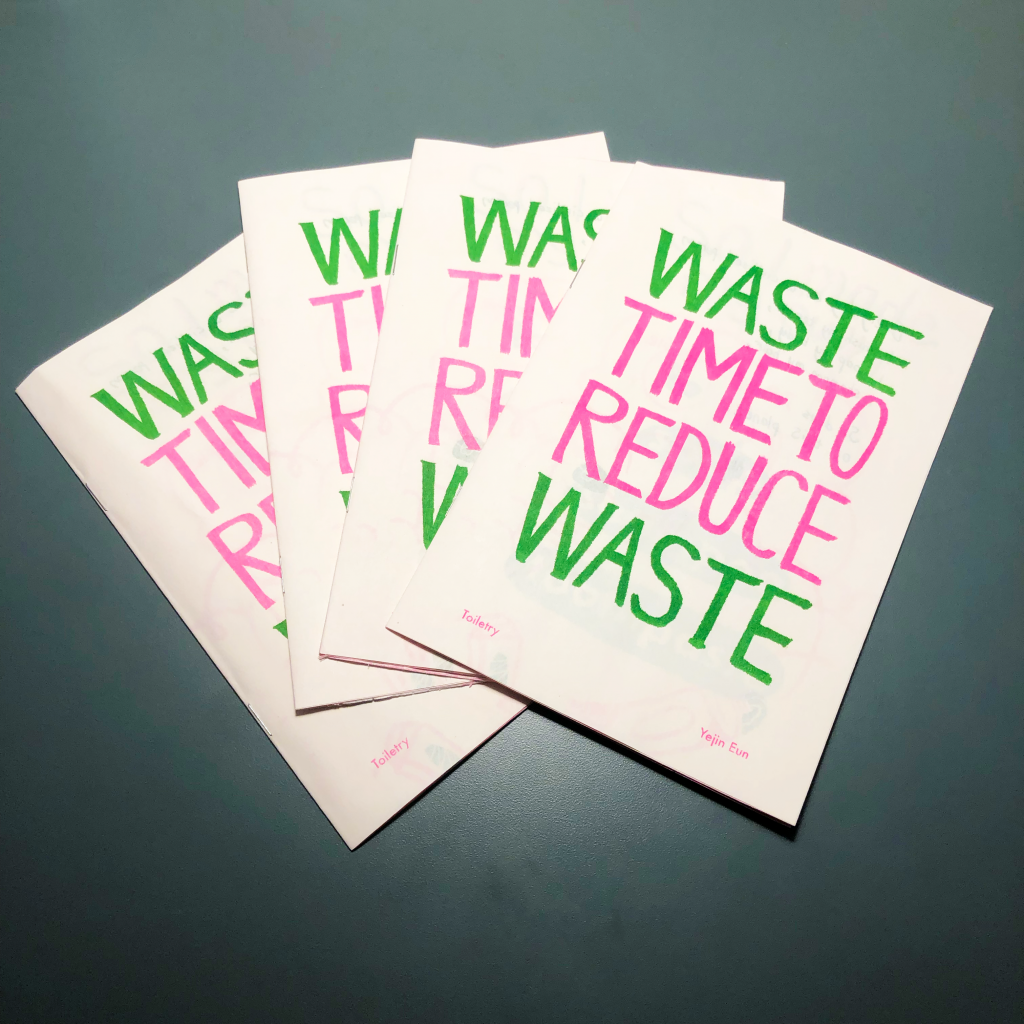
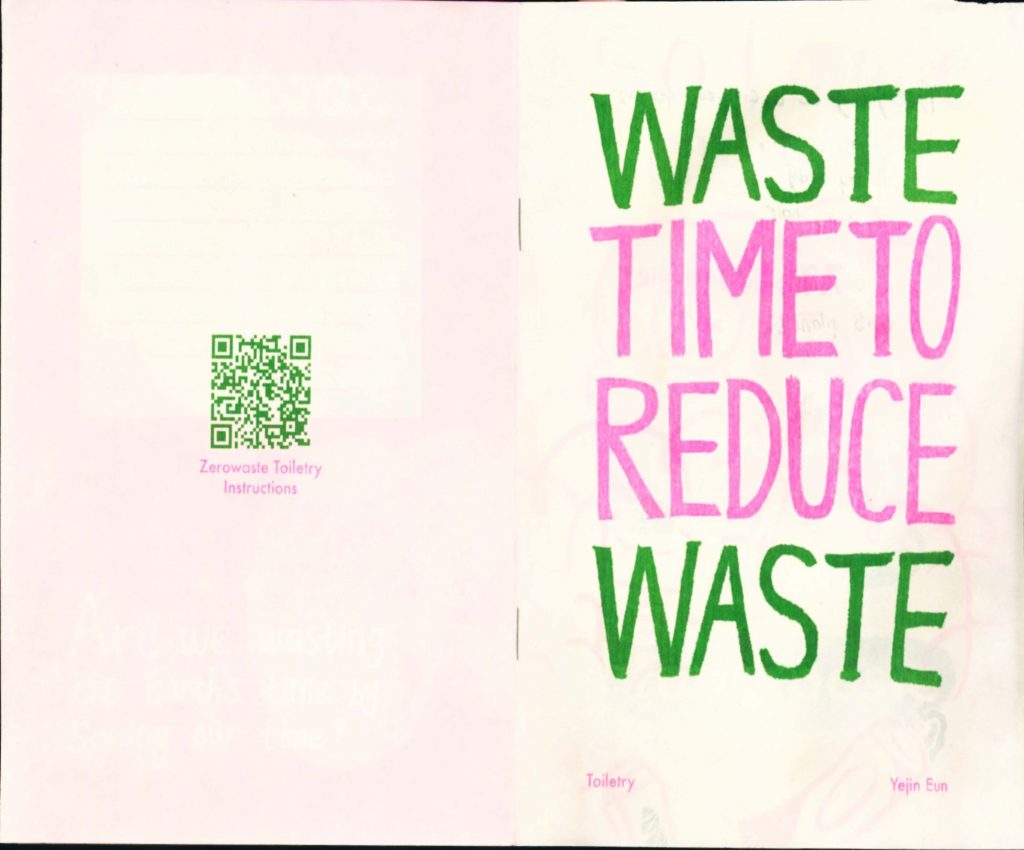
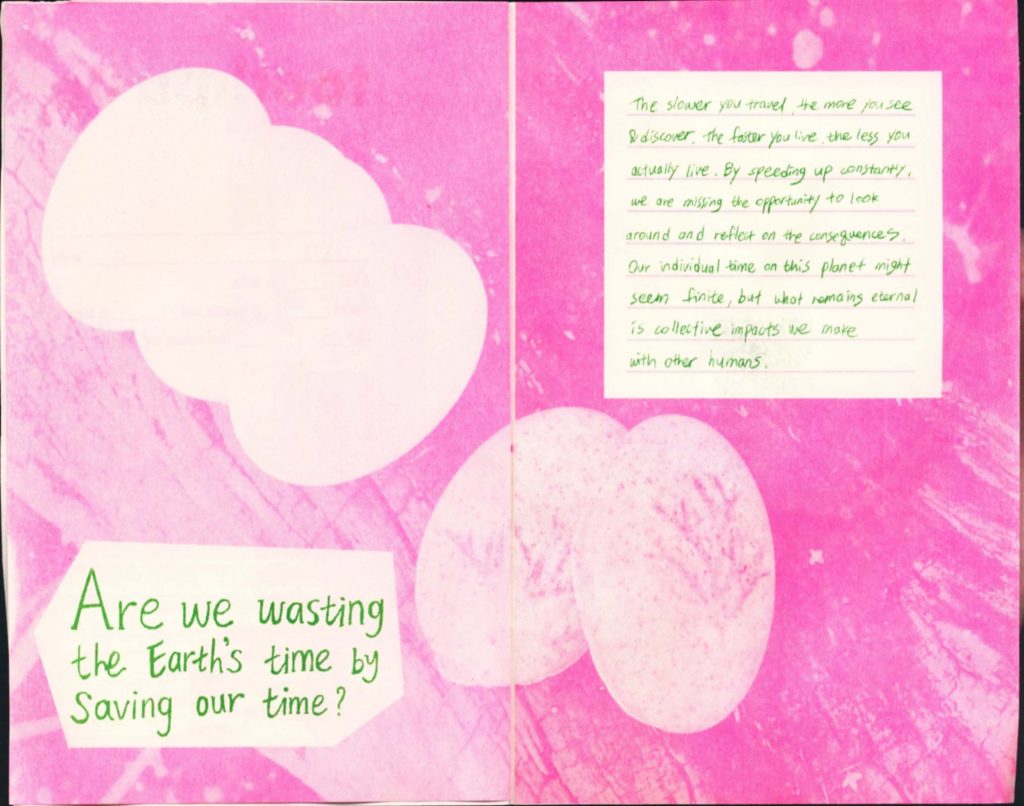
My research questions tie strongly around the relationship between modern capitalistic society and its perception of time. Time is quantified and measured as resources, just like money. The overflow of digital productivity tools shows our fear of wasting time. Increased obsession with efficiency and productivity constantly pressures us to not waste time. But is it such a bad thing to waste time? Are we wasting the Earth’s time by saving our time? Then what is the true meaning of a “waste” of time?

To identify a small project that begins this larger journey, I decided to make my own toiletry.

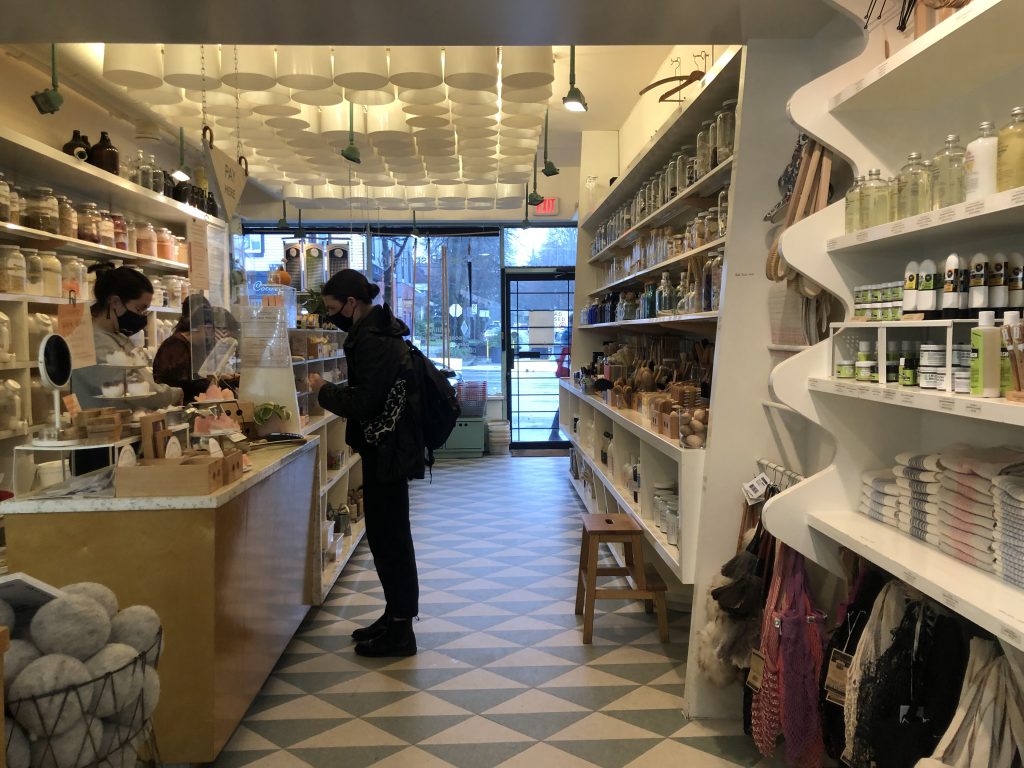
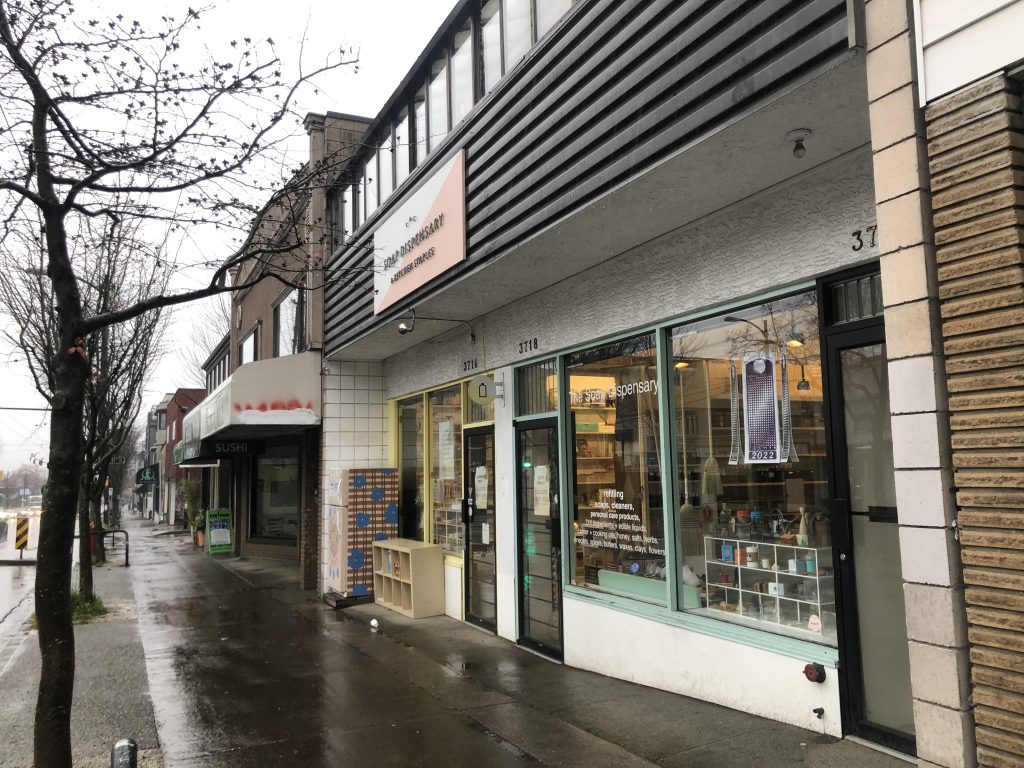
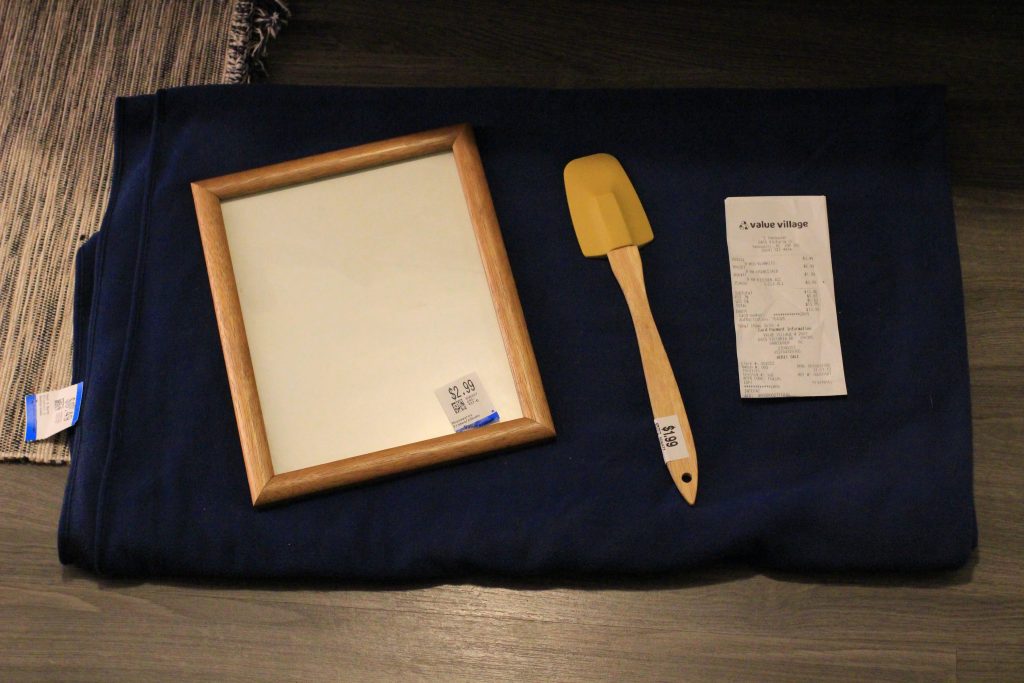
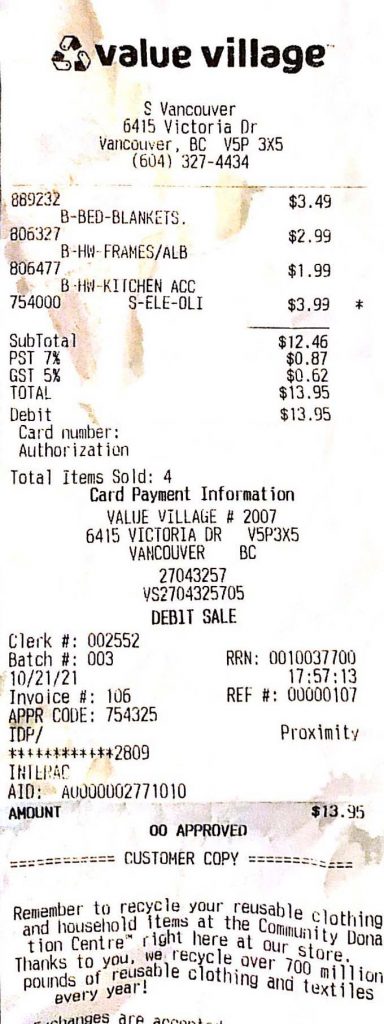
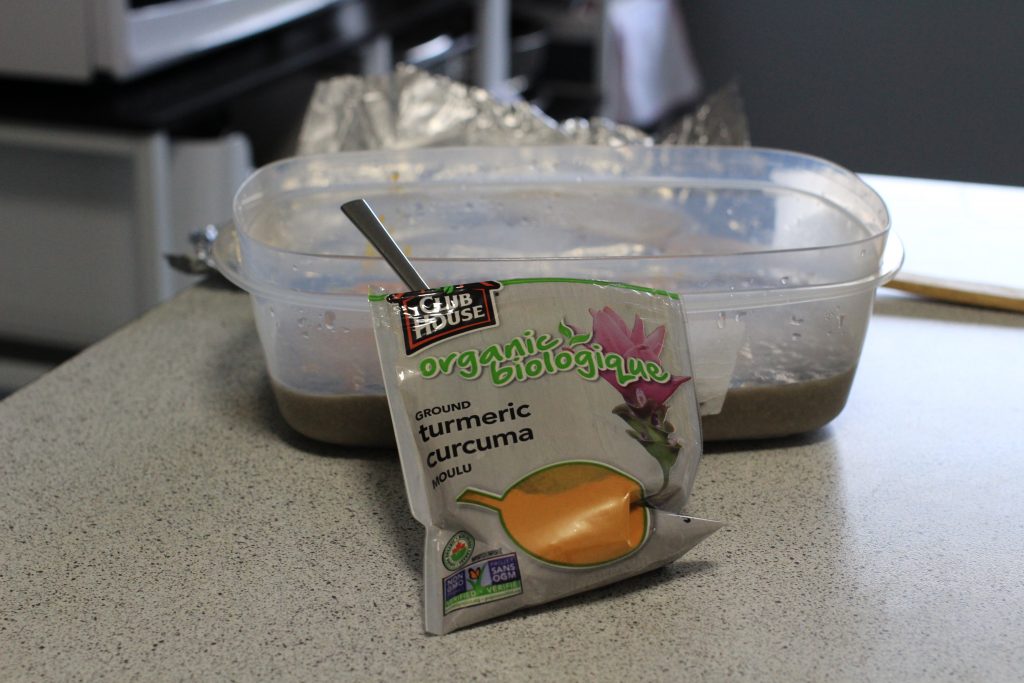
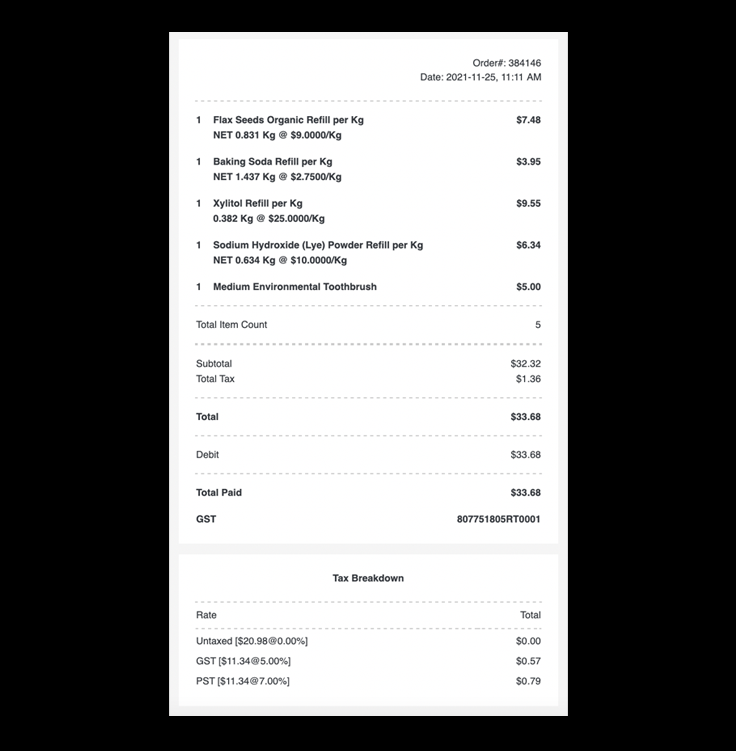
I tried to purchase the ingredients from a zerowaste store in Vancouver called The Soap Dispensary and Kitchen Staples on Main street. This store is Vancouver’s first dedicated refill shop, so you can bring your own containers to shop without packaging.

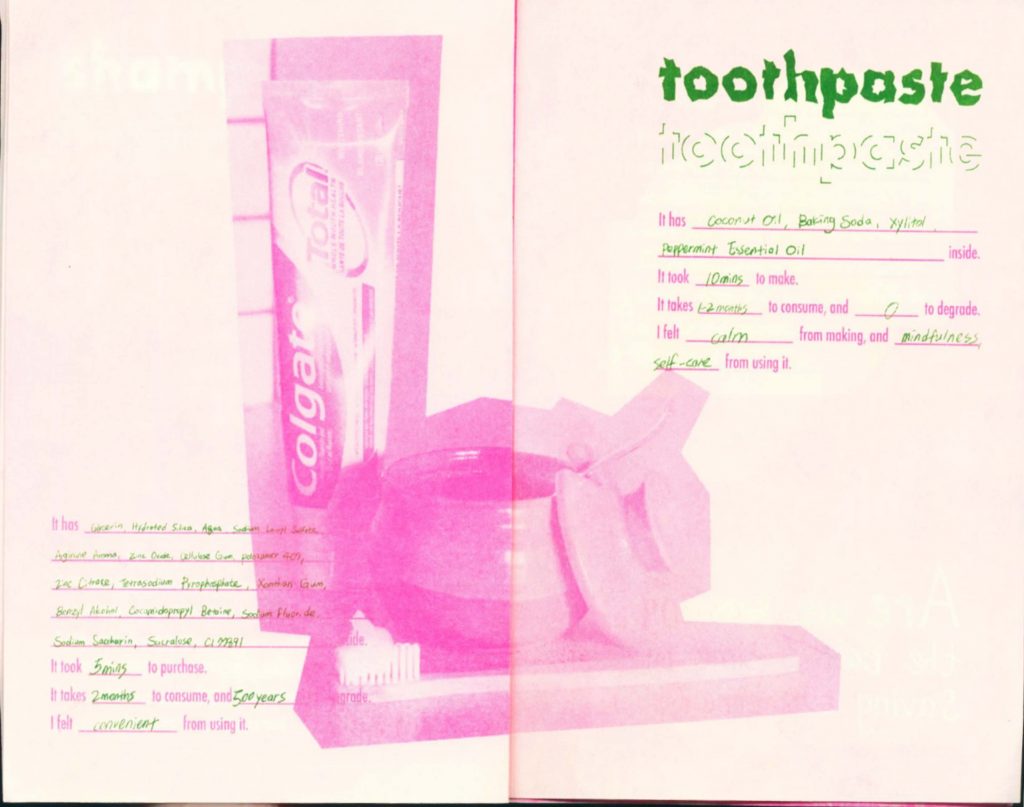
1. How to make your own toothpaste

My recipe is based on a YouTube video by Trash is for Tossers.

1-1. Gather Ingredients
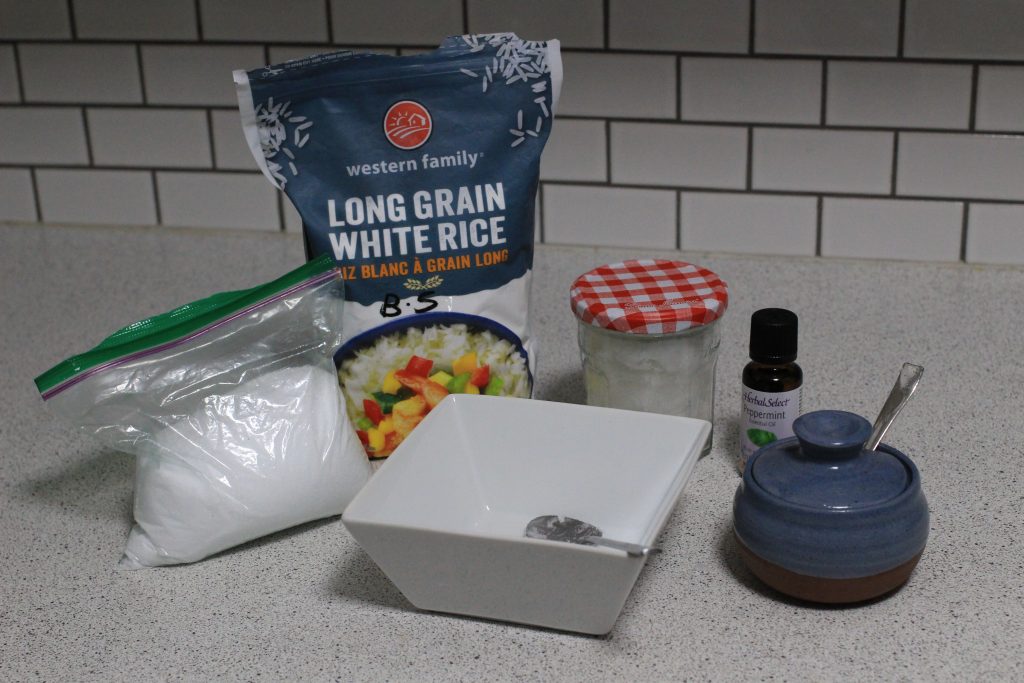
šŸ„£ Ingredients

  • 2 Tsp of Xylitol
  • 2 Tbs of Baking Soda
  • 7 Tbs of Coconut Oil
  • 30~40 Drops of Peppermint Essential Oil
  • A Bowl and Spoons to Mix
  • A Jar for Your Toothpaste

ā³ Time

10 minutes

šŸ¦· Benefits of Xylitol

Xylitol is found in small amounts in many fruits and vegetables. Xylitol can starve the harmful bacteria in your mouth, reducing plaque buildup and tooth decay. This can help prevent dental cavities and inflammatory gum diseases. Therefore, it is also a common ingredient in sugar-free chewing gums, candies, mints, diabetes-friendly foods and oral-care products.

šŸ„„ Benefits of Coconut Oil

Current research shows that coconut oil may help to decrease plaque buildup on your teeth and reduce inflammation to fight gum disease. In one pilot study, oil pulling with coconut oil for 30 days significantly decreased plaque buildup and signs of gingivitis in 60 participants with plaque-induced gum disease.
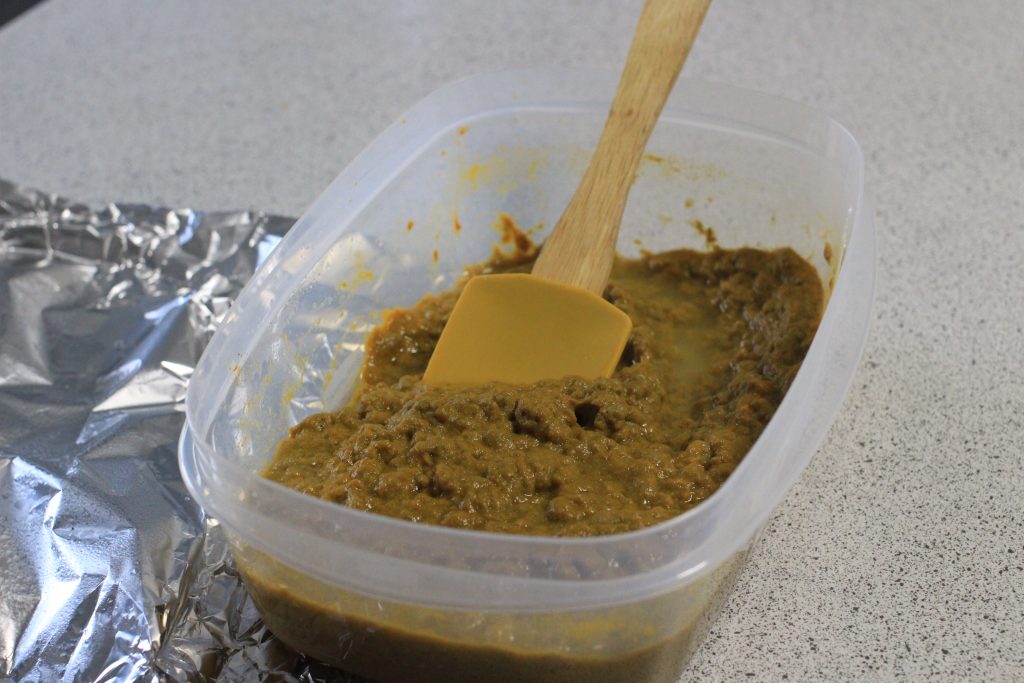
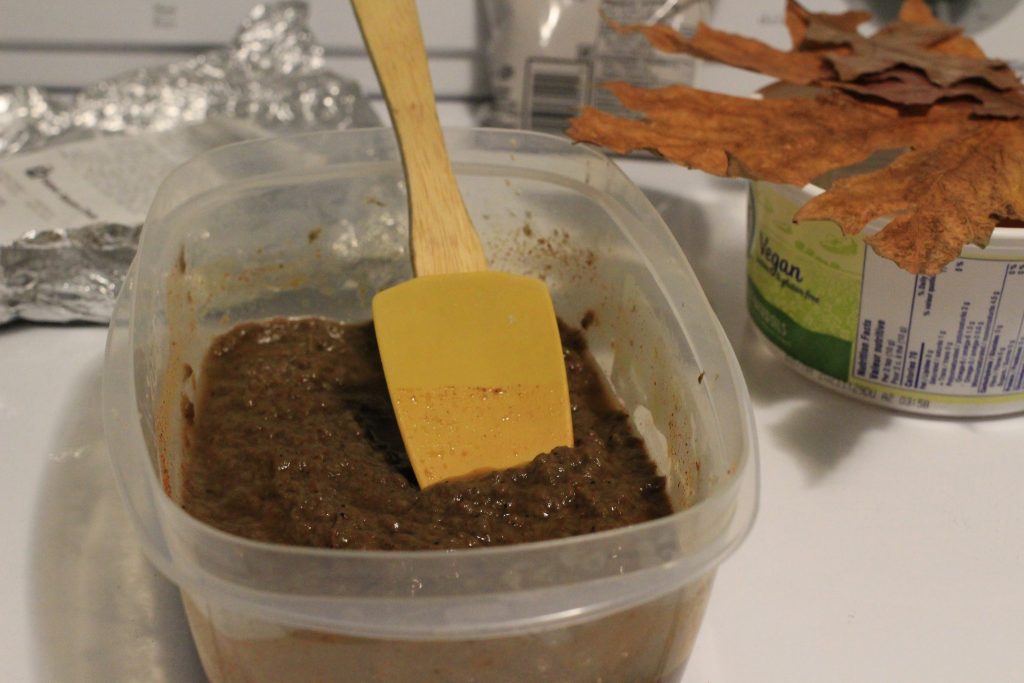
1-2. Mix Everything

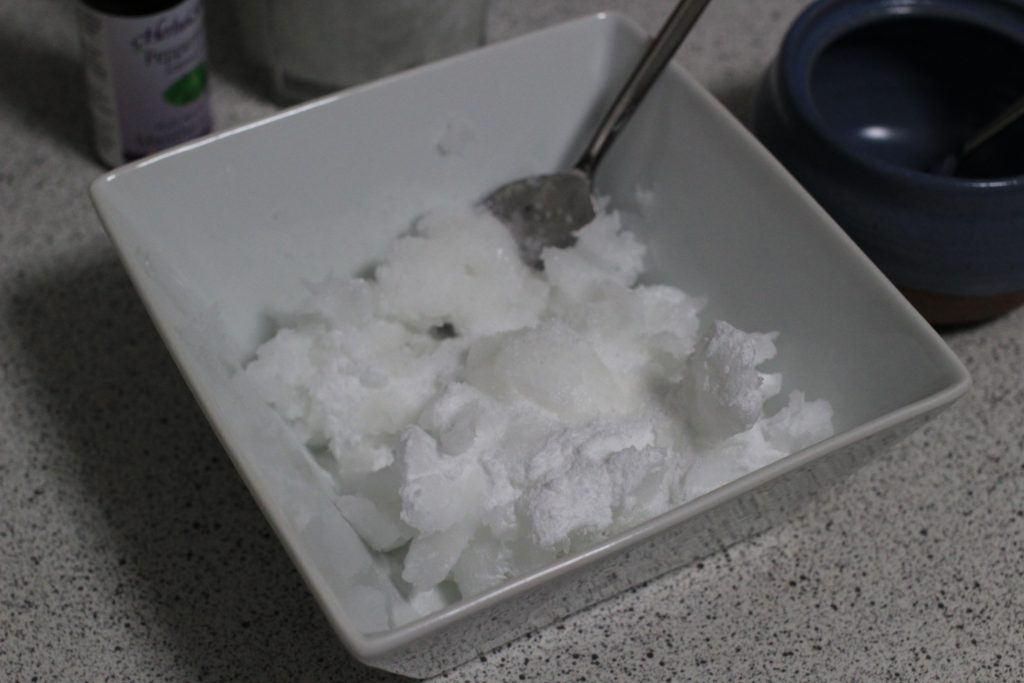
Put all the ingredients into a bowl and mix everything. Coconut oil has a melting point of 78 ā„‰ (25.56 ā„ƒ). To stir everything thoroughly, pop the bowl in the microwave for 30 secs or put it into a bowl of hot water to melt.
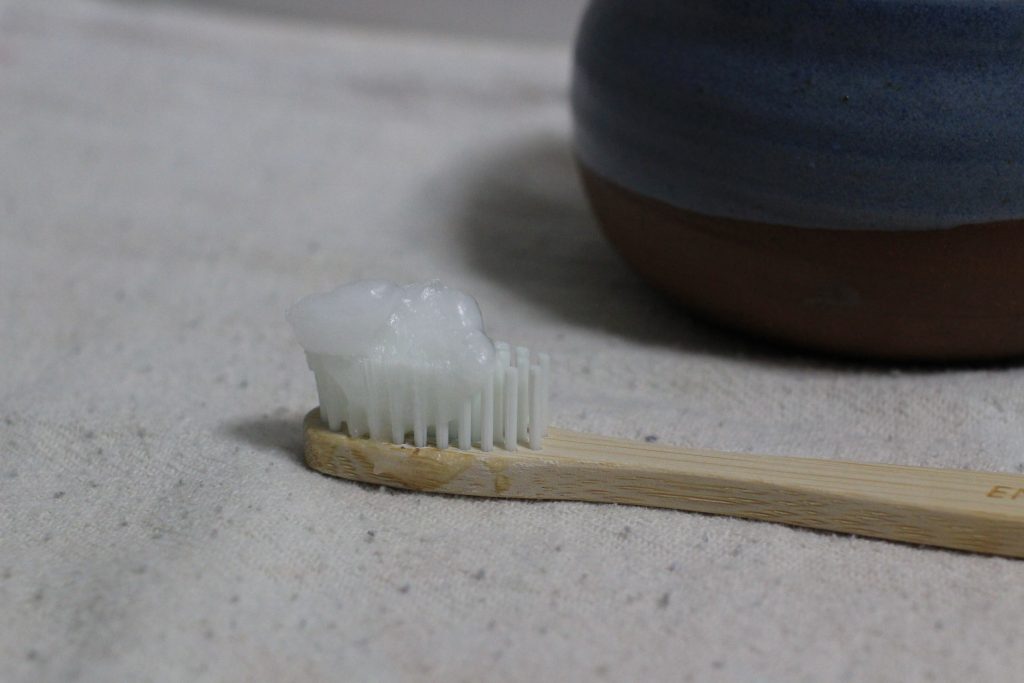
1-3. VoilĆ ! All-natural DIY Toothpaste

You can run it through hot water or microwave it for 30 seconds to soften and keep it in the fridge in summer to harden.

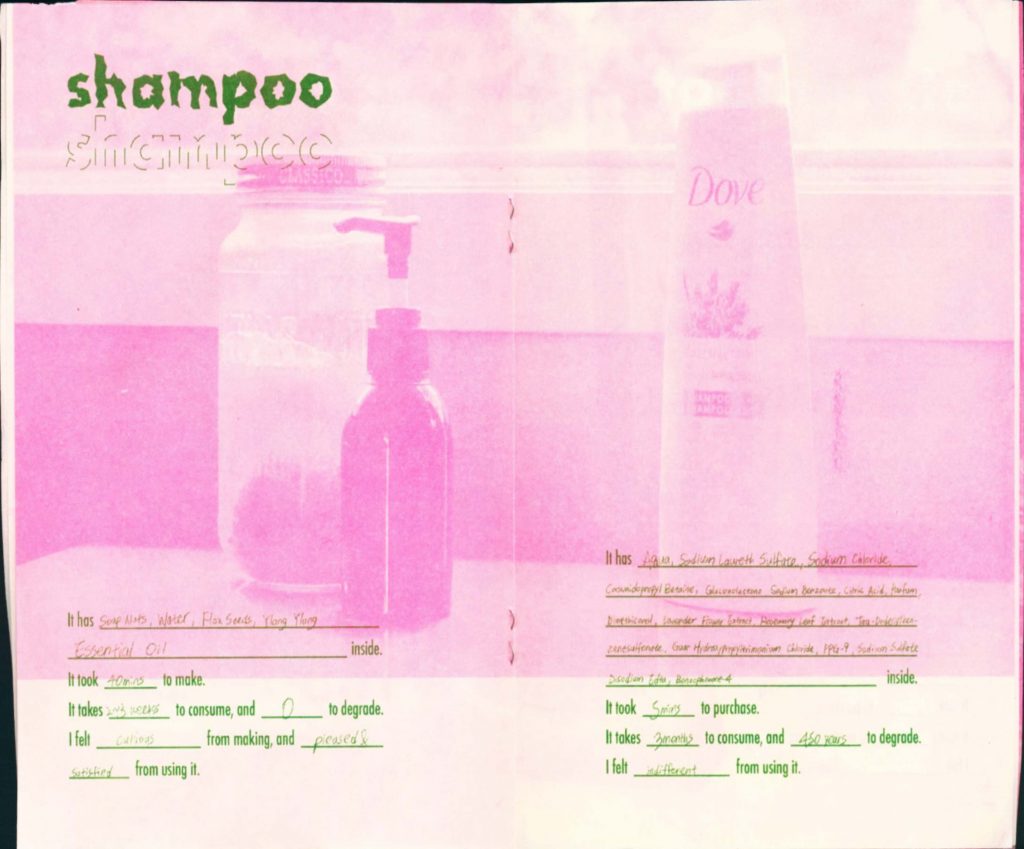
2. How to make your own shampoo

My recipe is based on a YouTube video by Sewing Lara.

2-1. Gather Ingredients
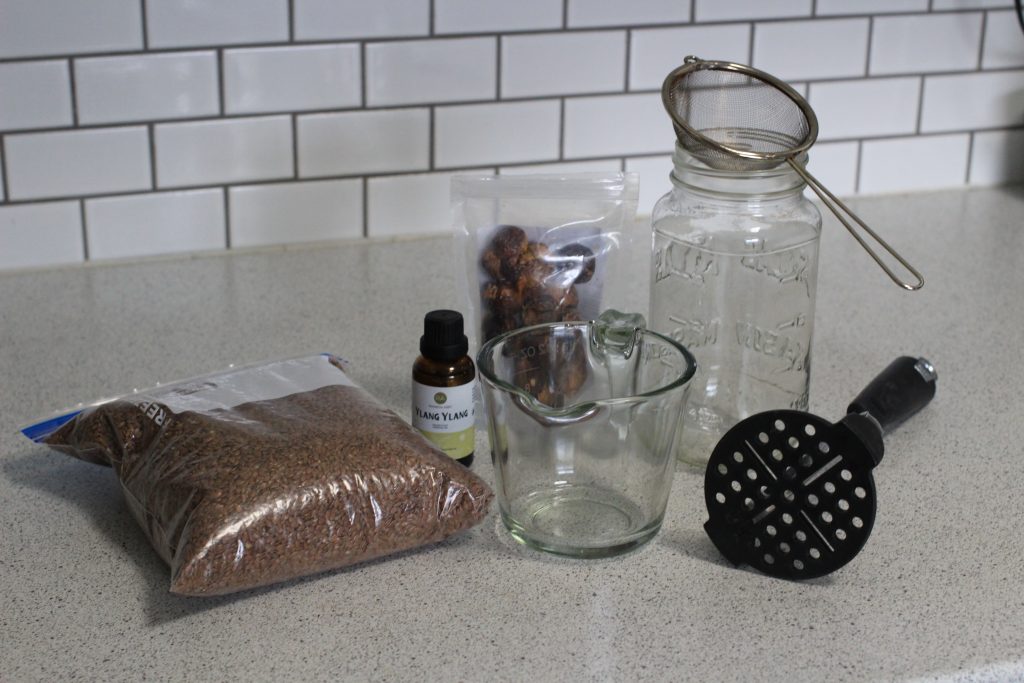
šŸ„£ Ingredients

  • 3~4 Cups of Water
  • 2~3 Tbs Flaxseeds (1/4 Cup)
  • 13~15 Soap Nuts
  • 10 Drops of Ylang Ylang Essential Oil
  • A pot
  • A Strainer
  • A Potato Masher
  • An Empty Bottle (I used a recycled pasta jar)

ā³ Time

40 minutes

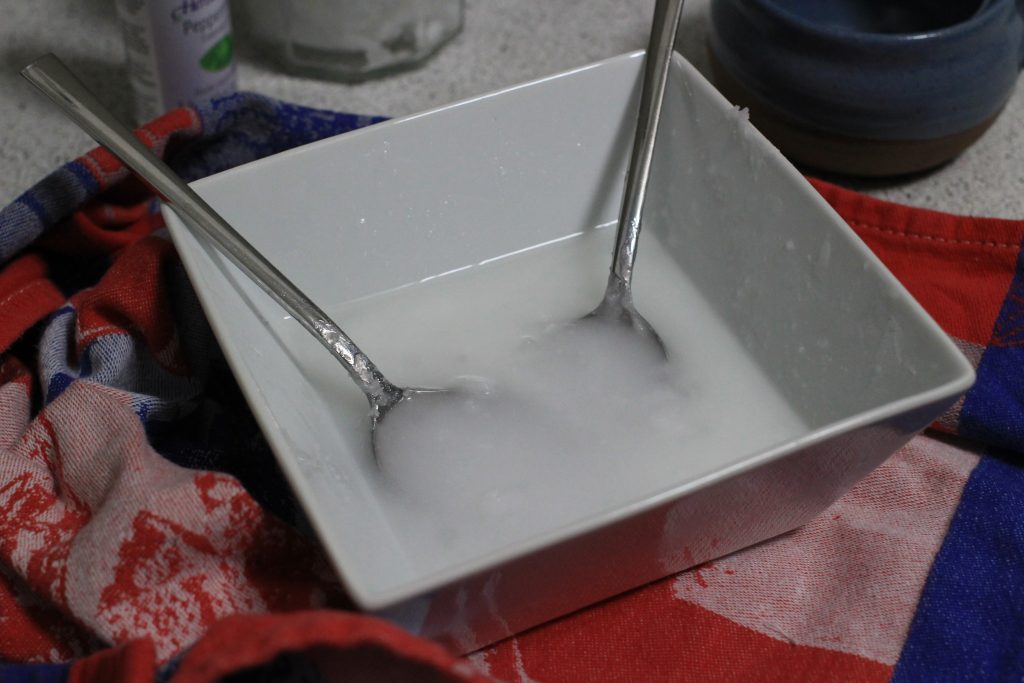
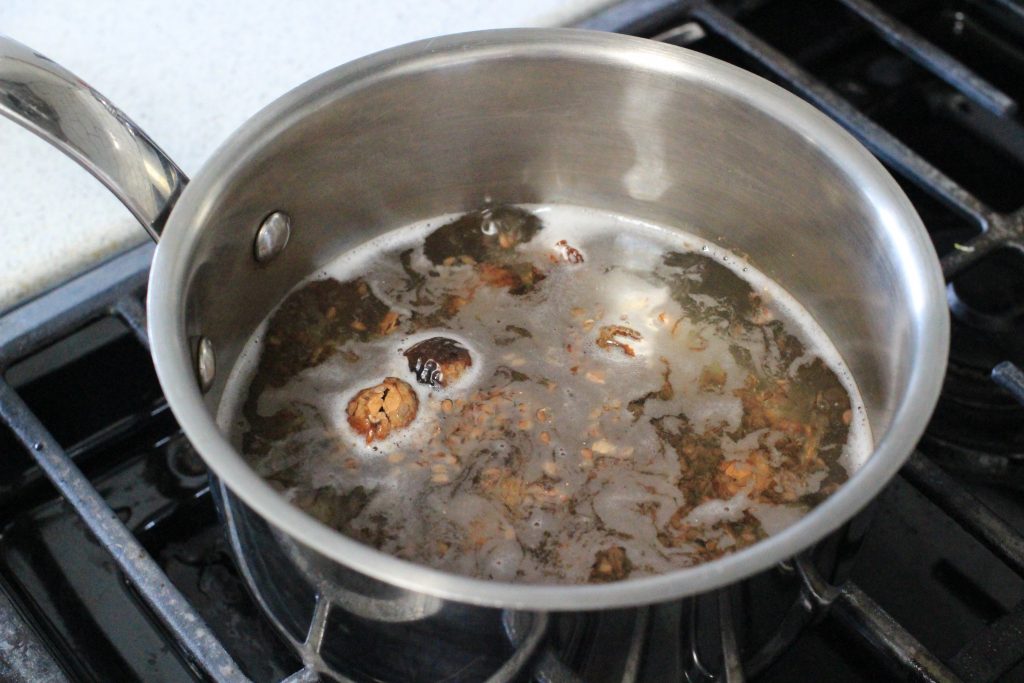
2-2. Boil the nuts and seeds

Boil the soap nuts & flaxseeds with water for 10 minutes, reduce heat and simmer for 20 more minutes.

šŸ„œ Benefits of Soap Nuts

The shells of the soap nut contain a natural soap, called Saponin. When the nutshells absorb water, the saponin is released, which creates a soaping effect. Soap nuts are known to be antimicrobial which makes them an excellent alternative to chemical detergents. Soap nuts are also rich in Vitamin A and D. The nutrients in soap nuts provide strength to the roots of your hair which foster hair growth.

šŸŒ± Benefits of Flaxseeds

Flaxseed creates a gelatine texture when it is boiled. This gel helps hair grow faster and longer by providing nourishment to the hair follicles. The presence of Vitamin E provides nutrition to the scalp and reduces free radical damage. Track your hair growth before and after using the natural shampoo to see the difference yourself!

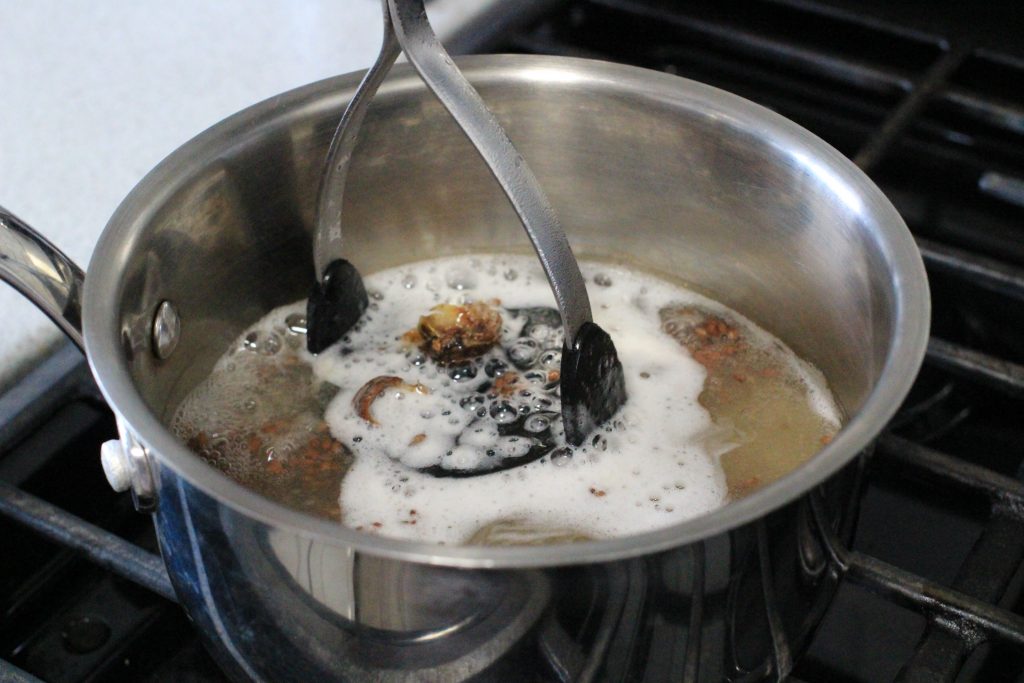
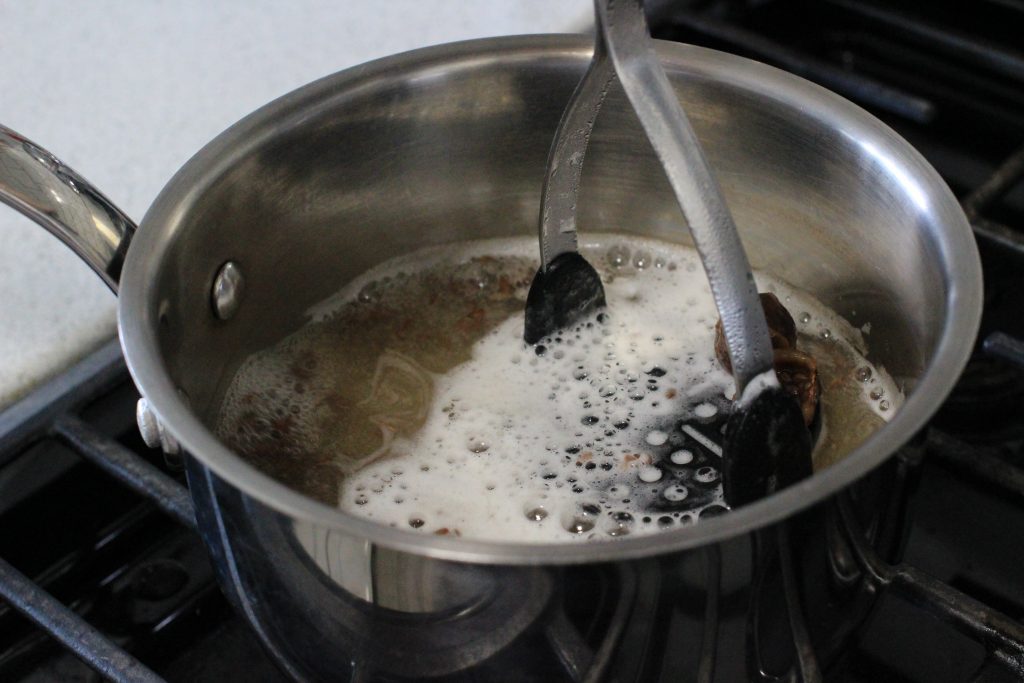
You can mash the nuts with a potato masher to bring out the most saponin while they are simmering.

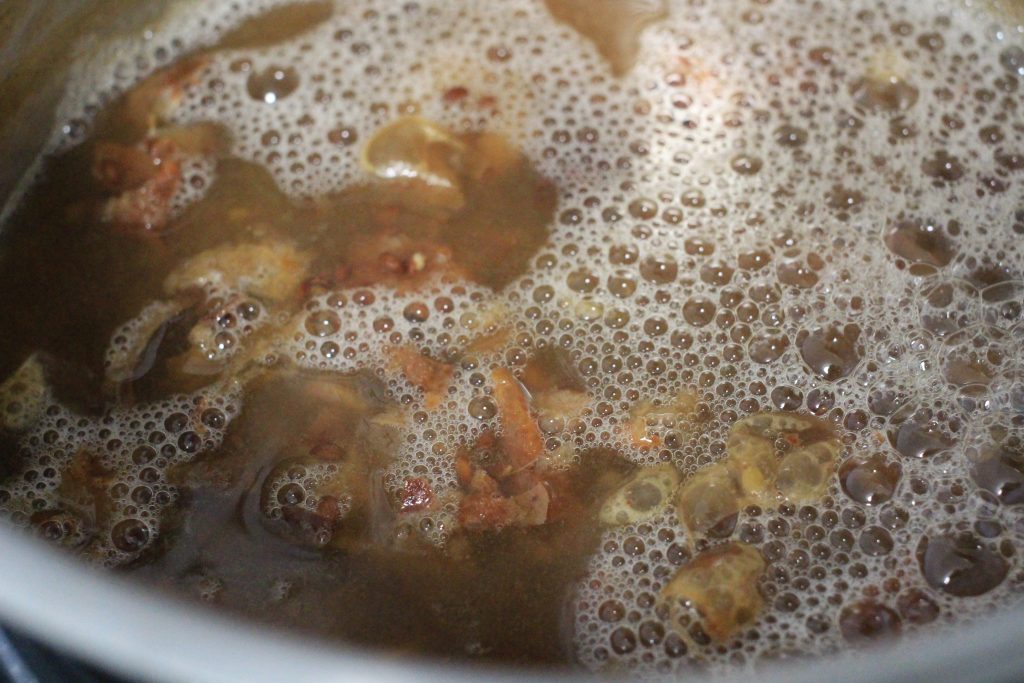
Once it is simmered for 20 minutes, check if the liquid is thickened up enough. You can also add extra water while boiling if the consistency is too thick.

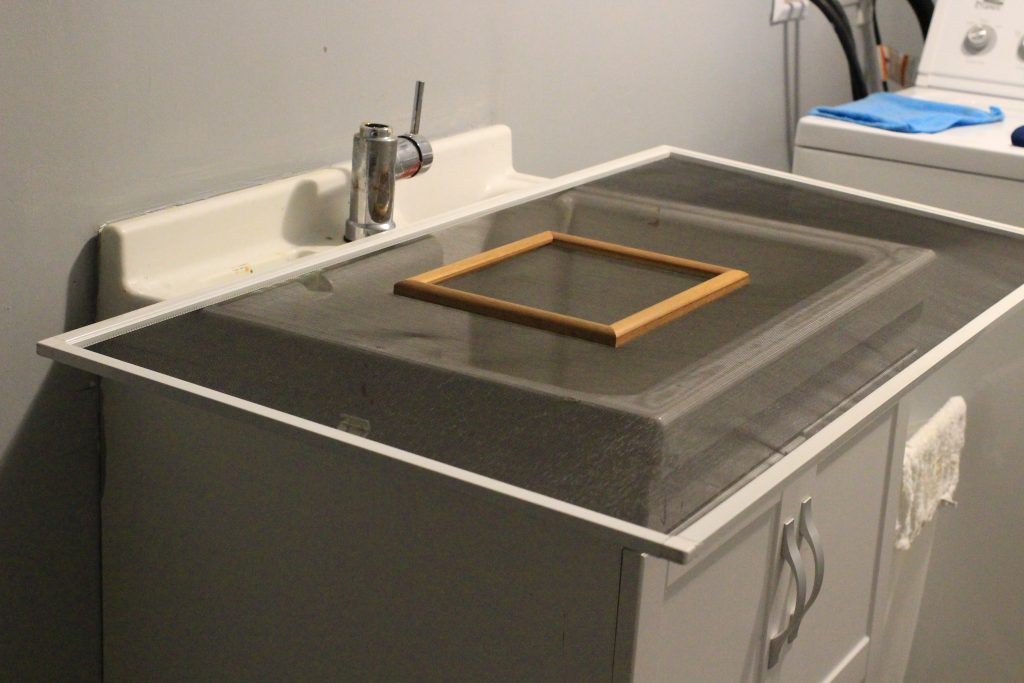
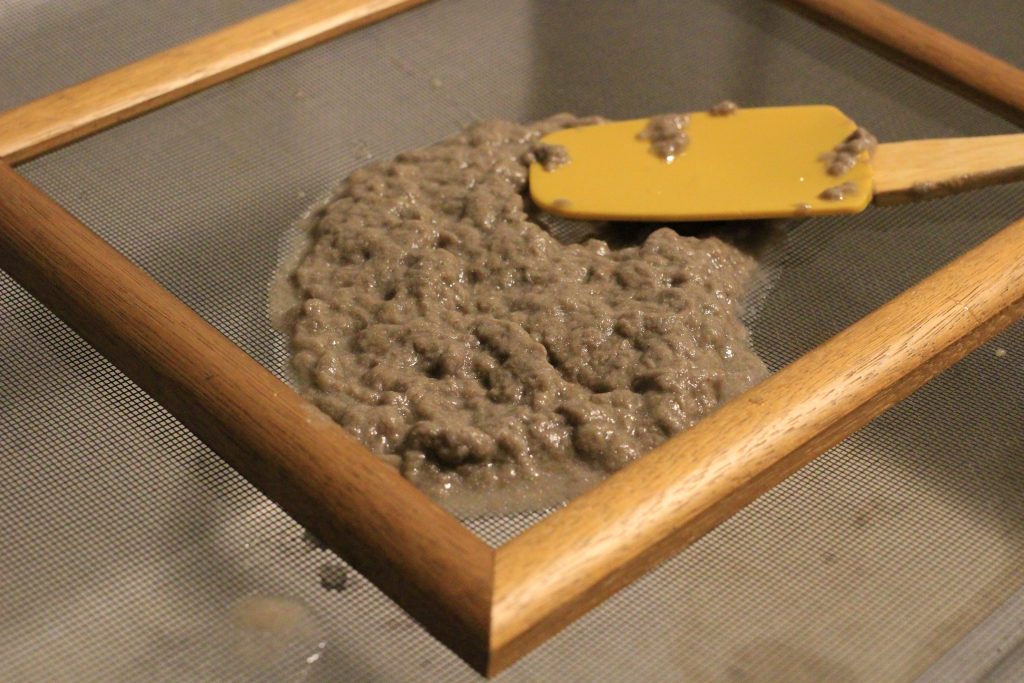
2-3. Drain the mixture

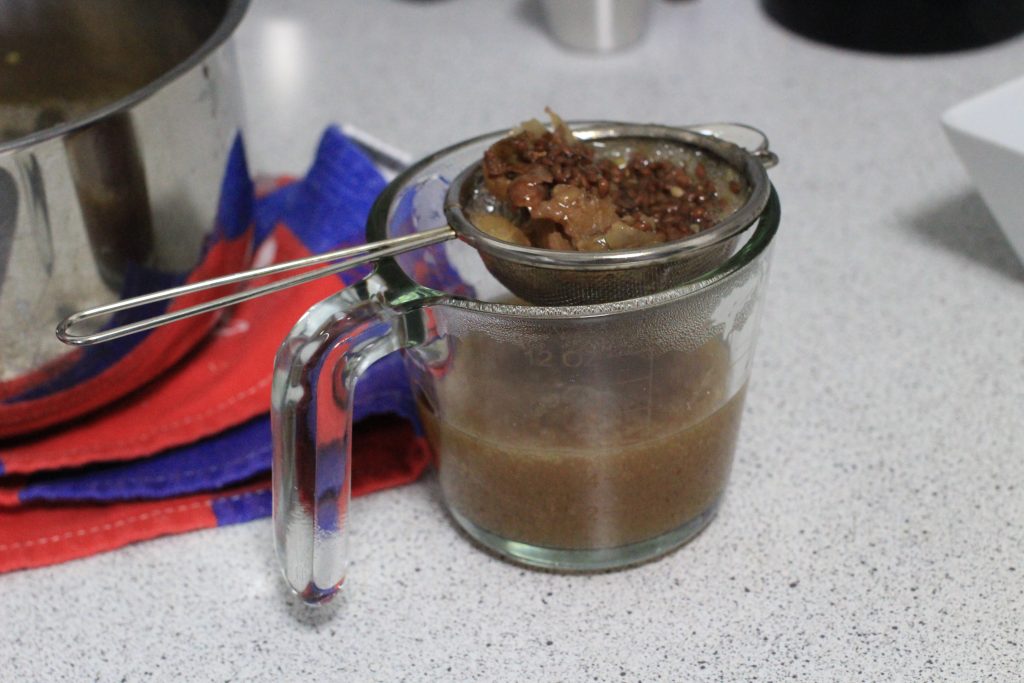
Use a strainer to drain the liquid. Soap nuts can be reused up to 6 times, so I kept them in the freezer for the next use.

I squeezed more juice out of the strainer with a spoon and poured the shampoo into a jar. Once it cools down, add 10 drops of essential oil of your choice. I added Ylang Ylang to mine.

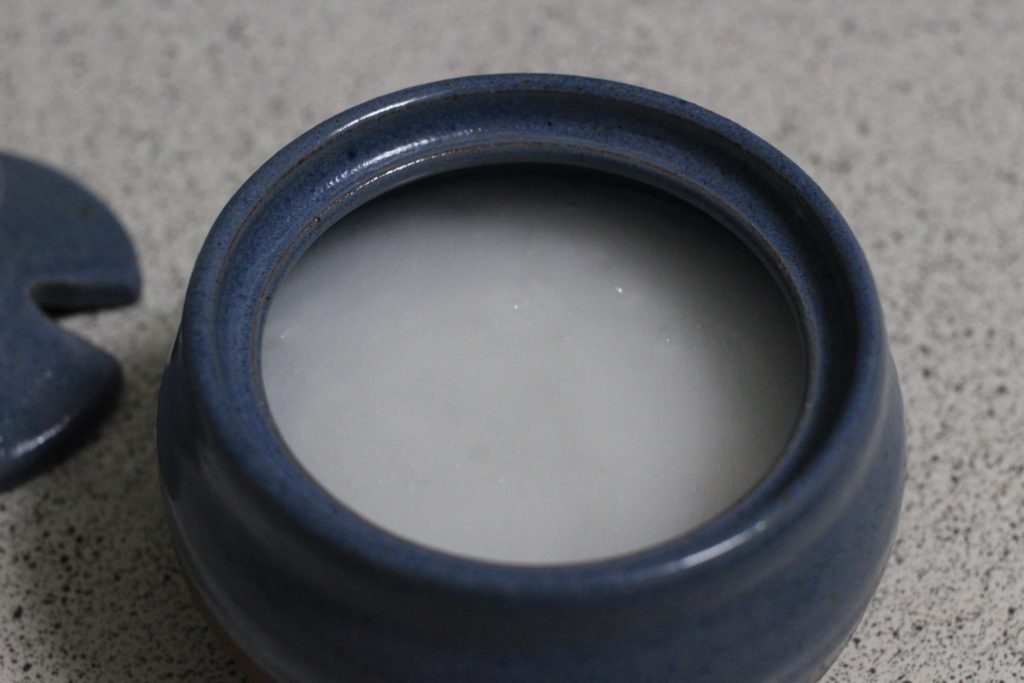
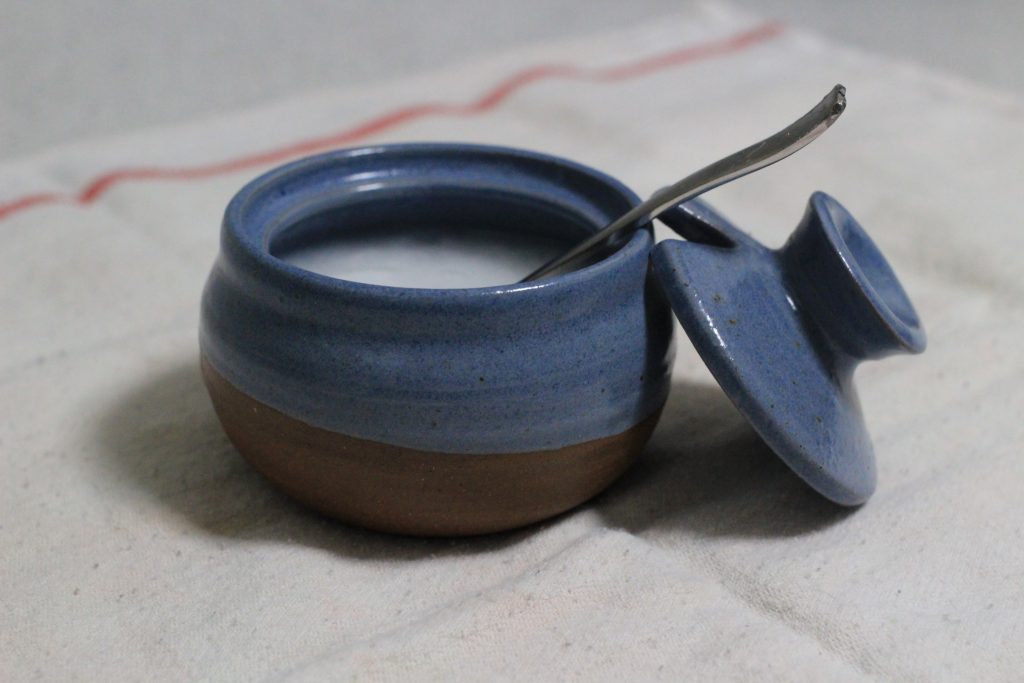
2-4. Store the shampoo jar in the fridge

Your all-natural DIY shampoo is ready to go! Store the jar in the fridge until use.

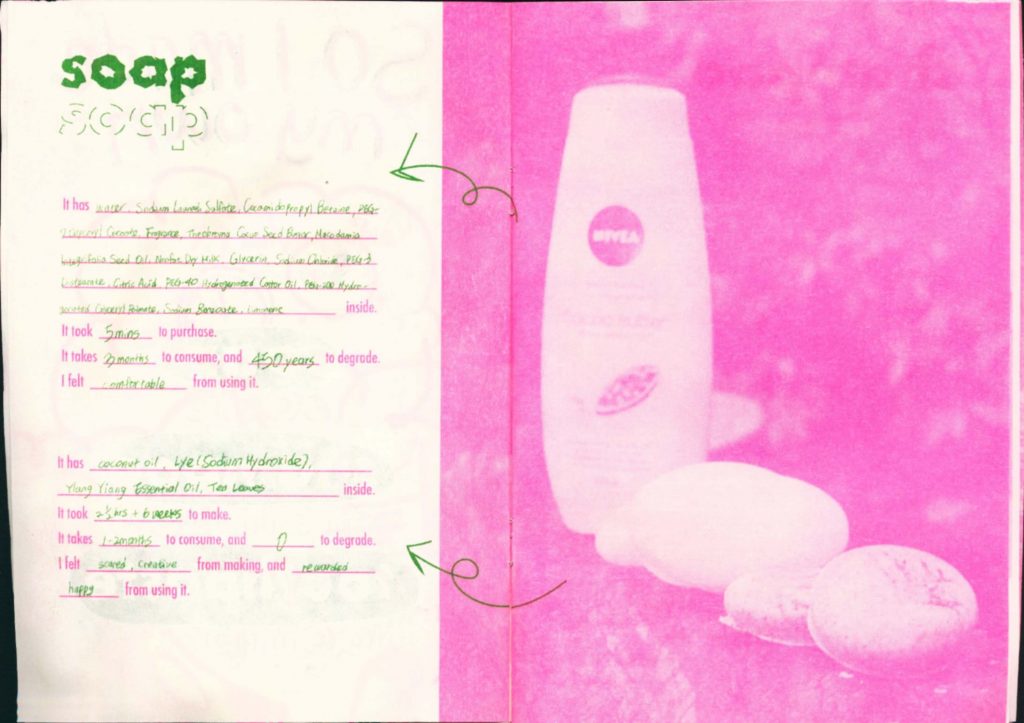
3. How to make your own soap

My recipe is based on a Youtube tutorial by Bottega Zero Waste.

3-1. Gather Ingredients
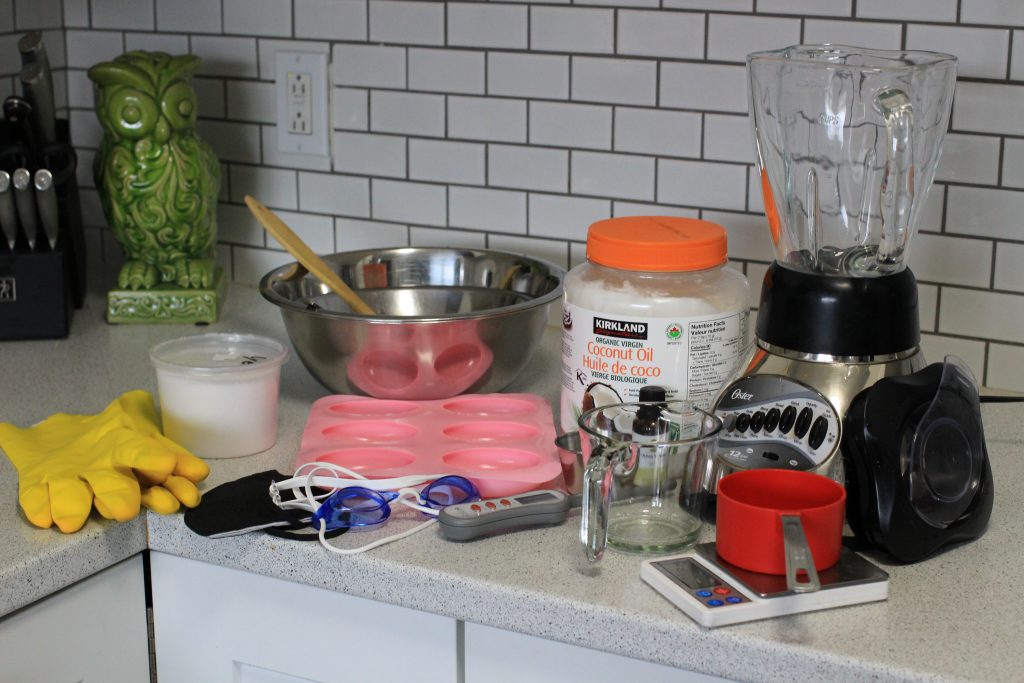
šŸ„£ Ingredients for making 2 soaps

  • 150g of Coconut Oil
  • 22g of Lye (Sodium Hydroxide)
  • 44.64g of Water
  • 2g of Essential Oil of Your Choice
  • Soap Molds
  • A Spatula
  • Measuring Cups
  • A Bowl to Melt Coconut Oil
  • 2 Stainless Bowls for Mixing
  • A Thermometer
  • A Scale
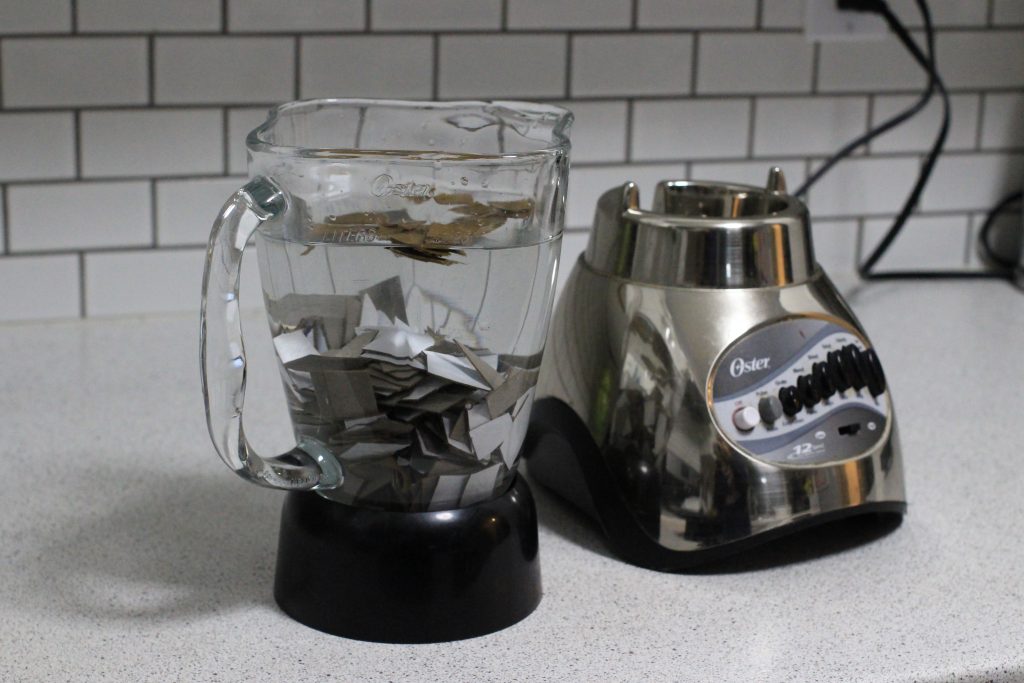
  • A Blender (Preferably hand blender)
  • Safety Gears šŸ‘©ā€šŸ”¬ Gloves, A Mask, Goggles (I used swimming goggles)

ā³ Time

2 Ā½ hours to make 6 soaps with 2 different additives + 4~6 weeks to cure

3-2. šŸ¦ŗ Safety Guide: Working With Lye

In order to make soap, oils must emulsify with lye, which begins the saponification process. During this process, itā€™s important to make safety a top priority. Sodium hydroxide lye is highly caustic and has the potential to burn the skin. Like driving a car, sodium hydroxide is safe when handled properly. But because lye has the potential to be extremely dangerous,  itā€™s important to take every safety precaution.

  • ALWAYS wear goggles, gloves, masks, and protective clothing when handling lye.
  • NO short sleeved shirts, short pants, or sandals. Wrap yourself up to prevent any situation getting lye on your skin.
  • ALWAYS work with lye in a well ventilated area.
  • Remove contaminated clothing immediately.
  • Clean up spills immediately.

Find more information about the safety guidelines in this YouTube video LYE 101: Everything A Beginner Soap Maker Needs To Know by Royalty Soaps

3-3. Melt coconut oil & Make lye solution

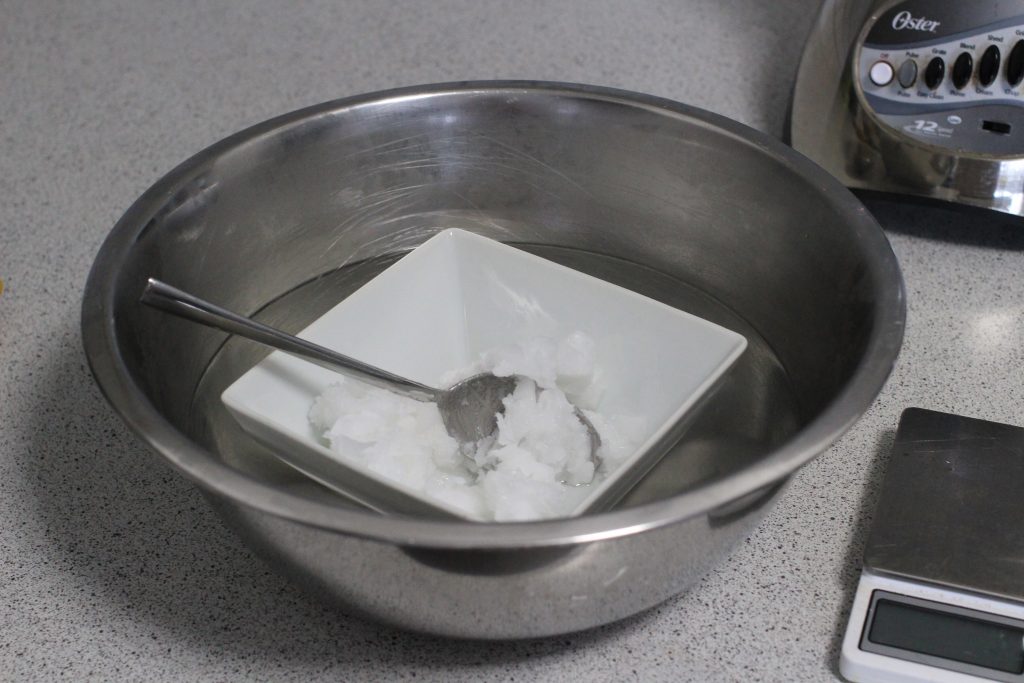
Once you have the correct amounts for your recipe, start melting the coconut oil. I put the coconut oil bowl into a bowl of hot water to melt but you can pop it in the microwave as well.

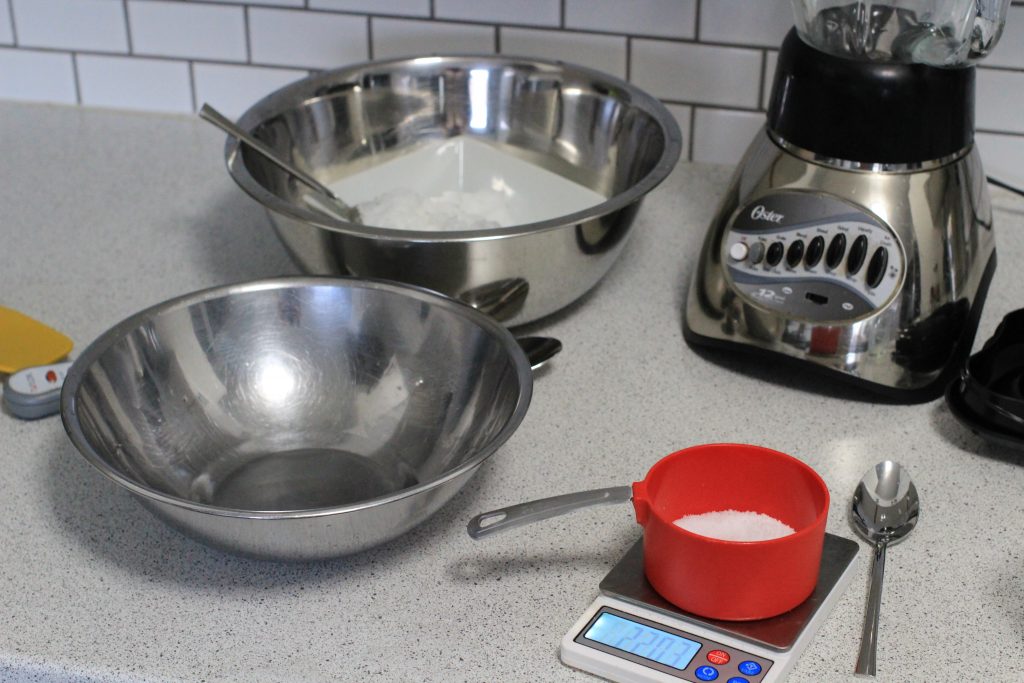
Whilst wearing safety gears, add the lye to the water in a heat safe Pyrex, or stainless steel or heavy duty plastic bowl. Remember, always add lye to water, never water to lye! Doing so can cause the lye to expand, or erupt, out of the container.

3-4. Wait till the temperature drops to 110ā„‰

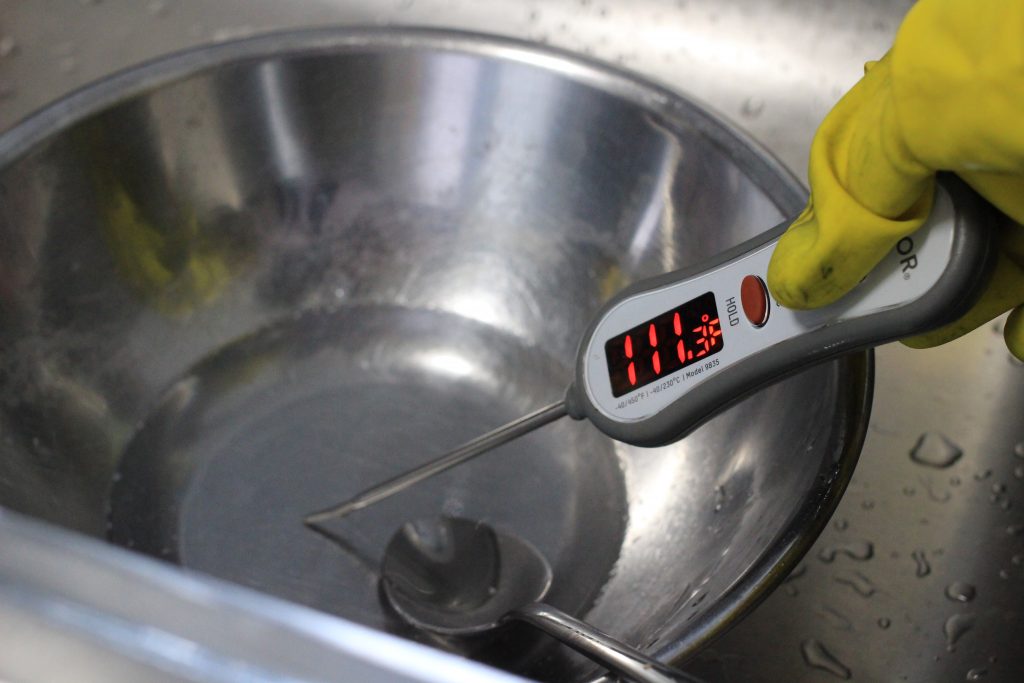
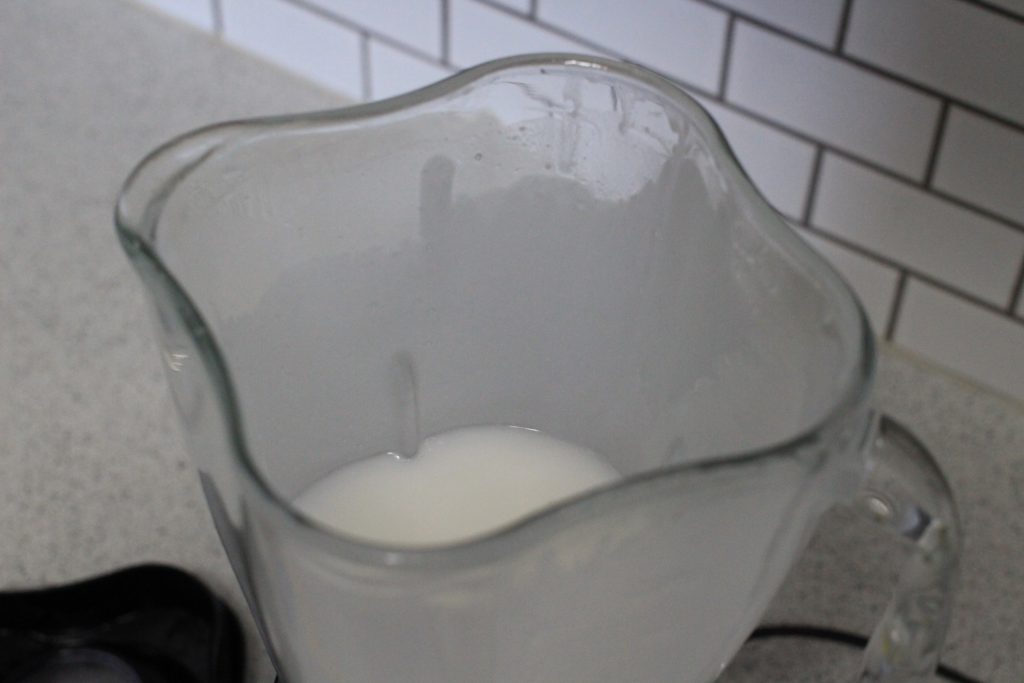
When the lye solution and coconut oil are at about 110ā„‰ (43ā„ƒ), we can slowly pour the lye onto the coconut oil, stir with a spatula, and start blending. It’s better to use a stick blender but I used a normal blender I have at home. You can also use a cream whipper to manually mix the oil and lye, it will just take more time and effort.

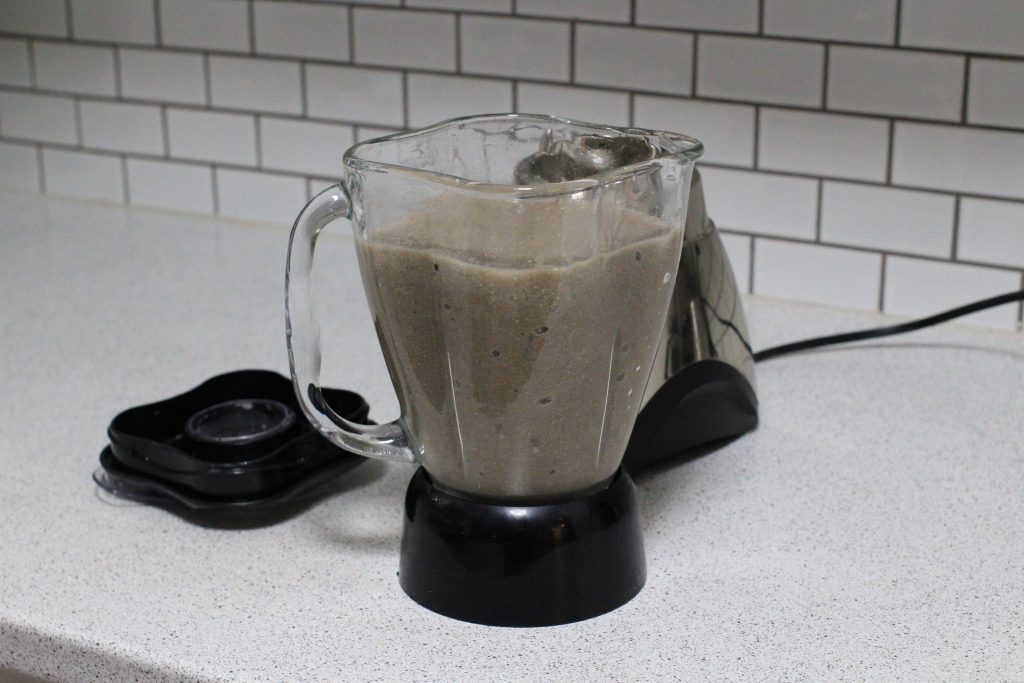
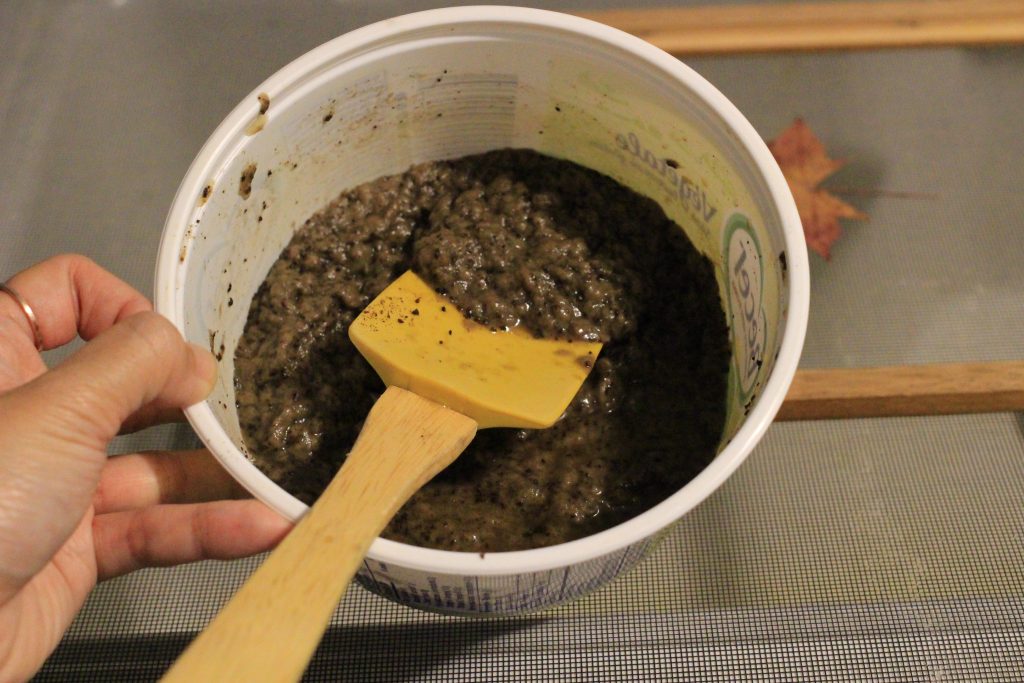
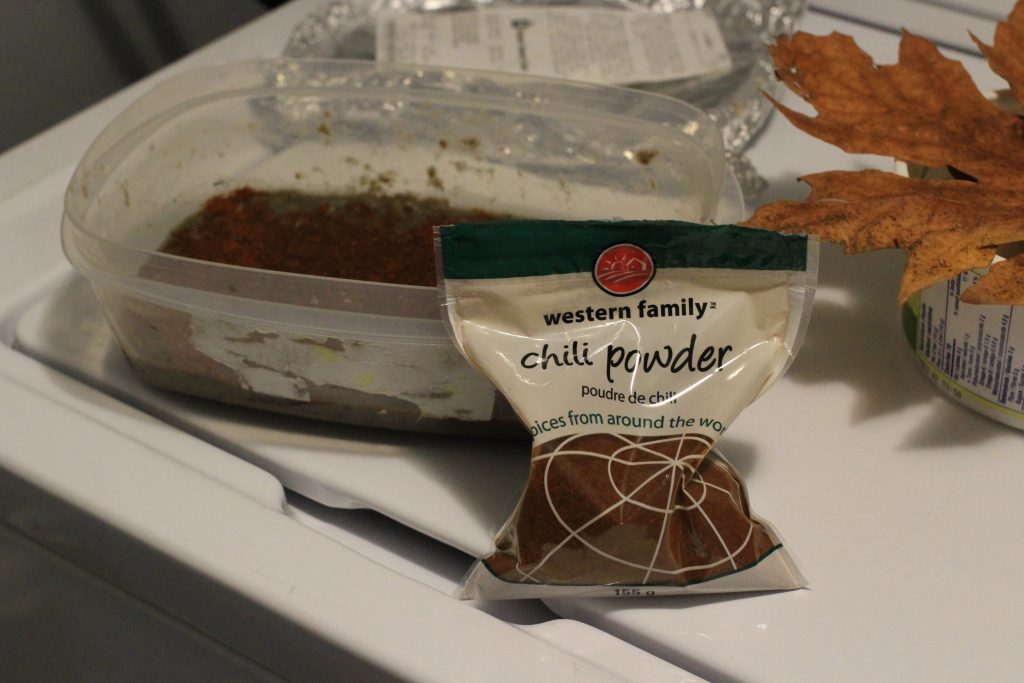
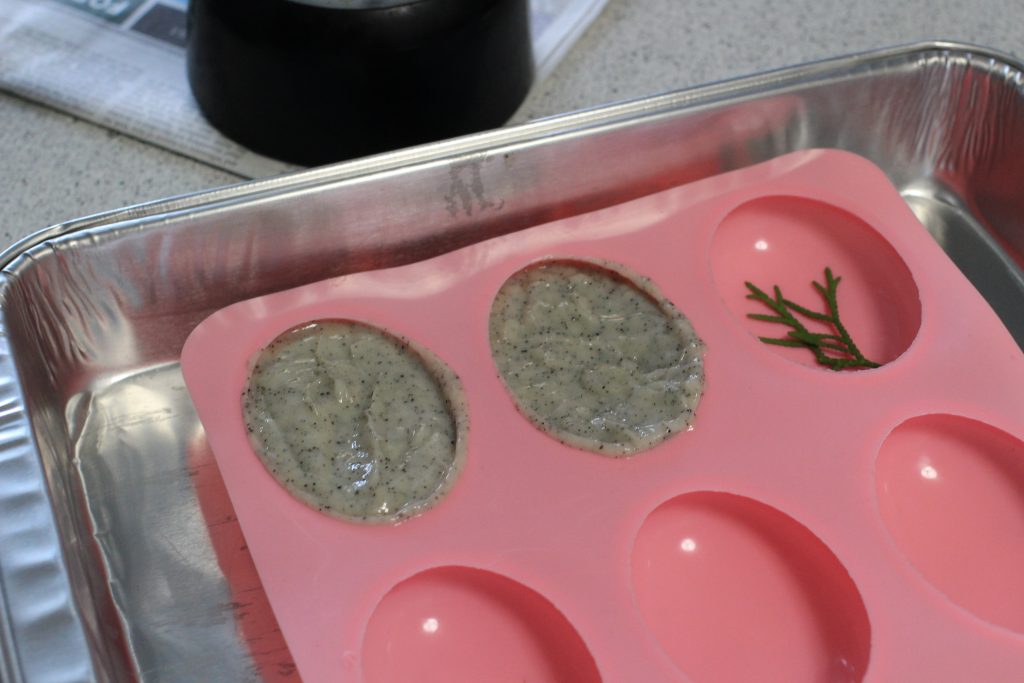
3-5. Add additives & Blend until the soap starts to trace

Blend the mixture with additives of your choice (I used ylang ylang essential oil) until it achieves “trace.” Trace is when the mixture leaves a trail when dripped, which means the soap has thickened and blended enough to form a stable emulsion.

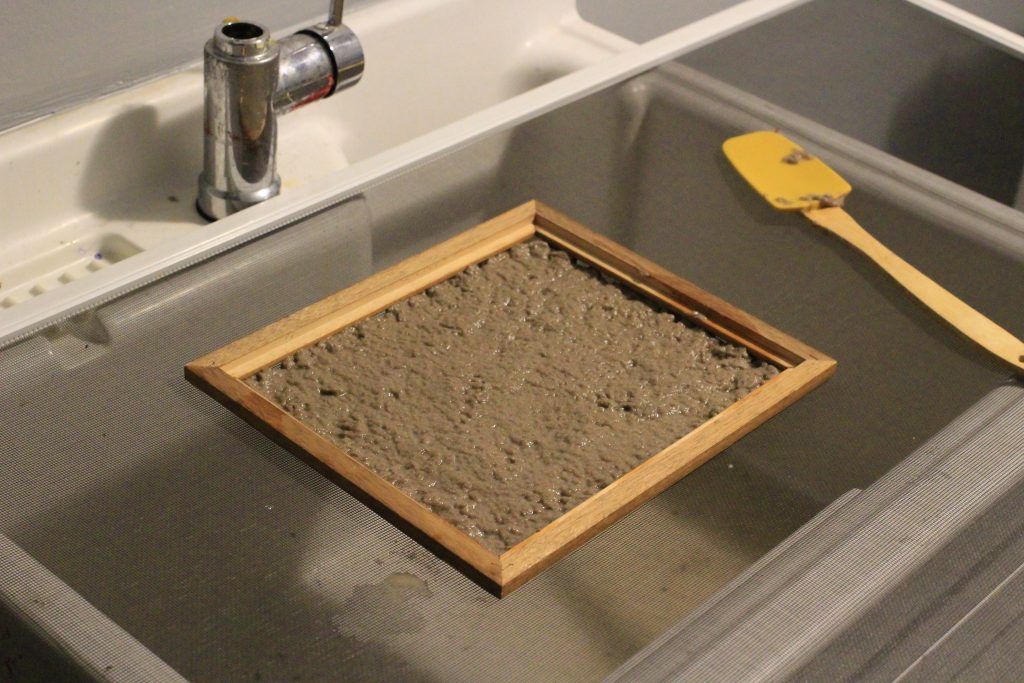
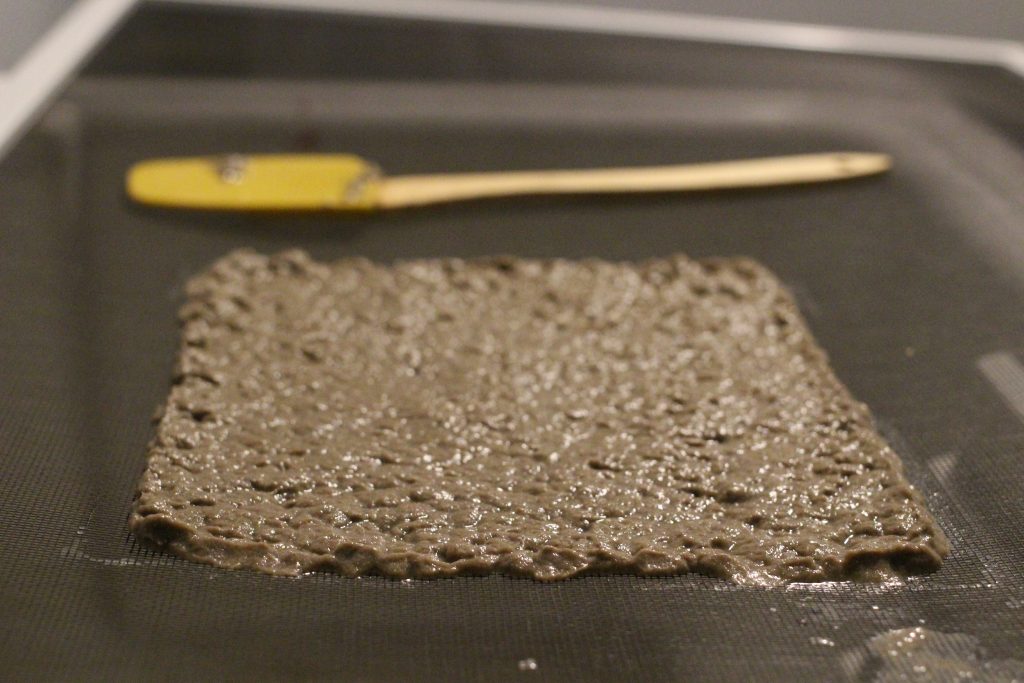
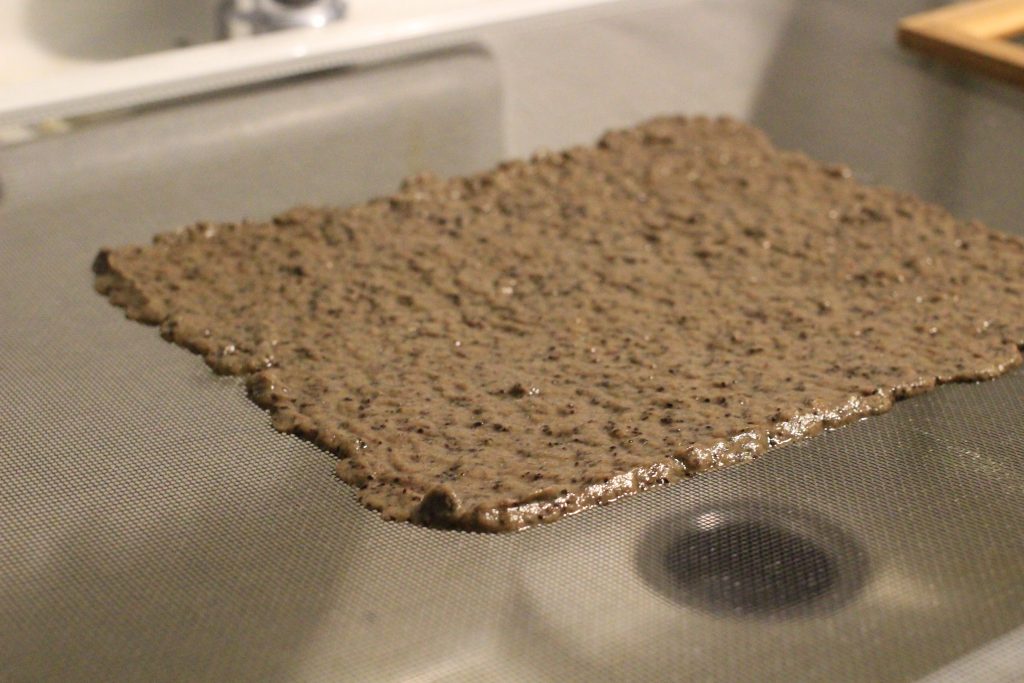
3-6. Mould & Cure the soap

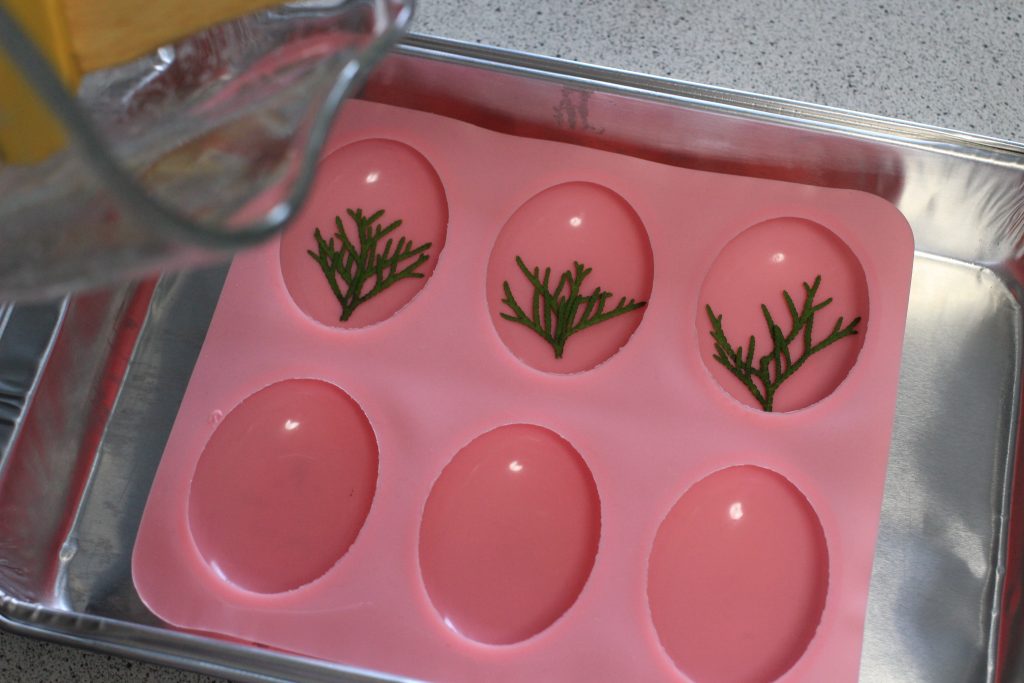
Once we’ve achieved trace, it’s time to mould! Pour the soap into the mould, let it rest for 24 hours before you unmould it. After removing soap from the mould, the soap needs to cure for four to six weeks. Soap should be stored in a cool, dry and well ventilated space for curing and during this time the water and lye used in the recipe evaporate.

One of the main reasons to cure homemade soaps is that when they are first made, they tend to be on the softer side. A soft soap will dissolve away more quickly as itā€™s used, meaning that your uncured soap wonā€™t last as long as one that has been allowed to dry and harden.

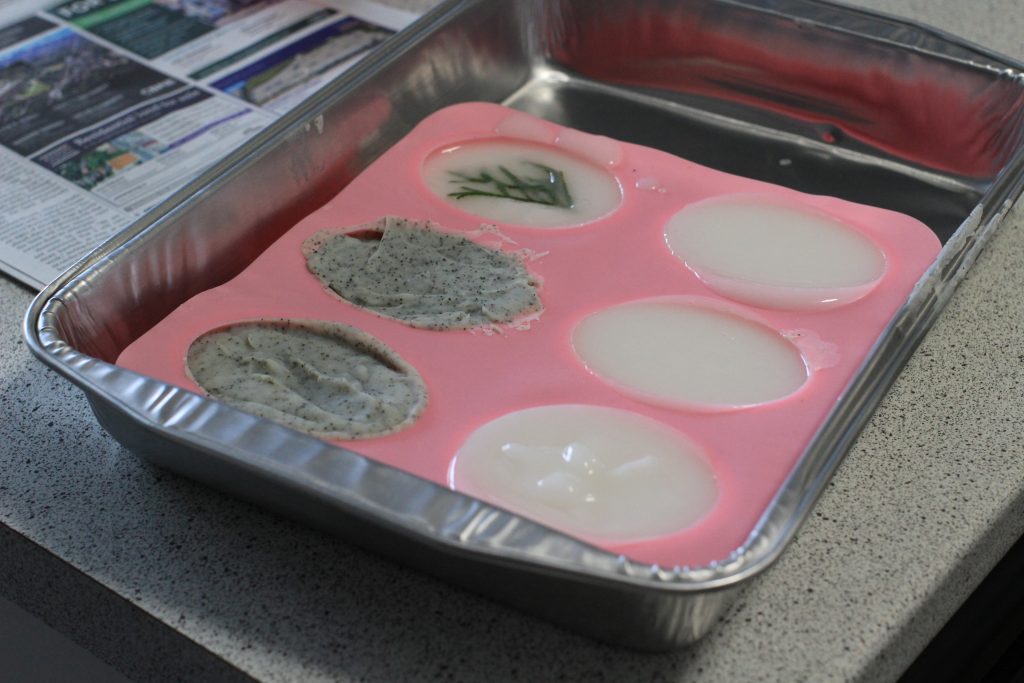
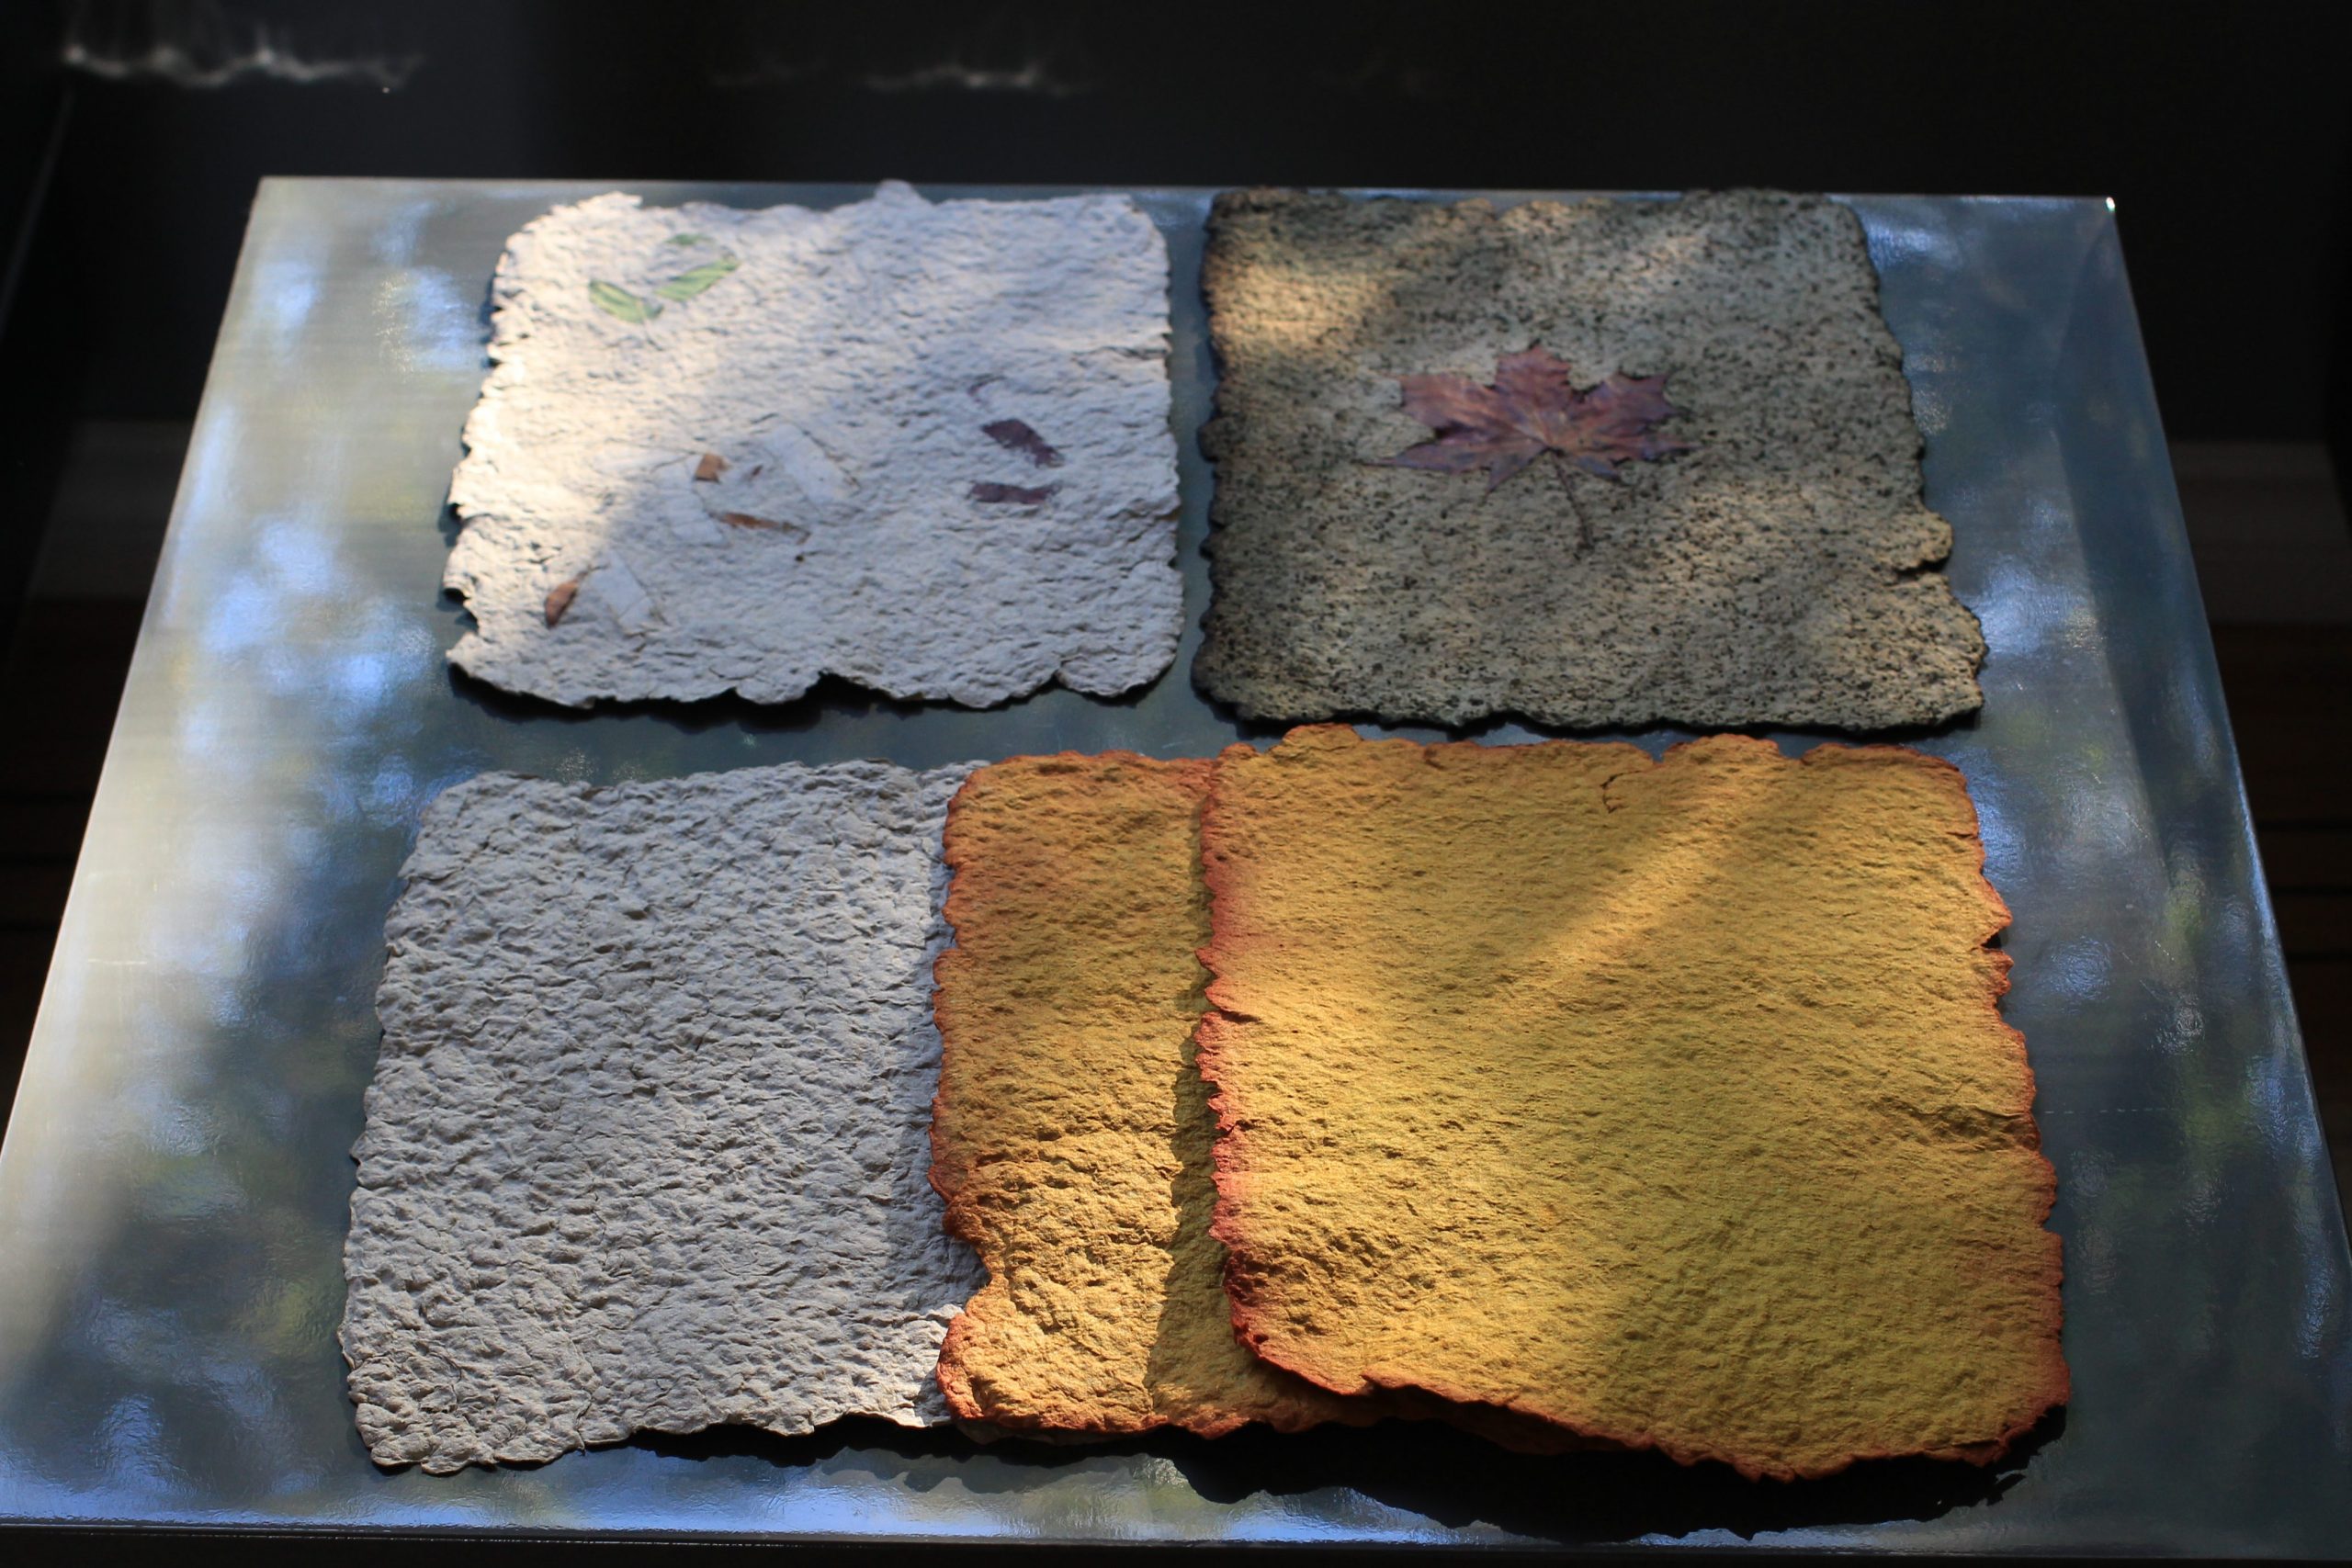
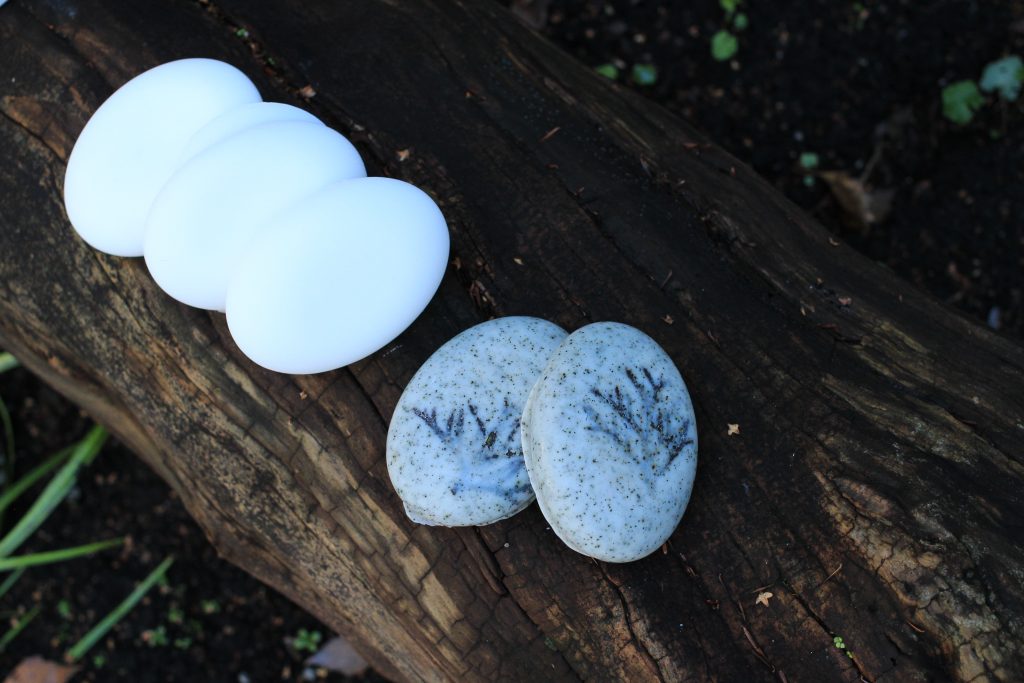
The two dark soaps on the top left are based on coconut oil with dried chai tea leaves and ylang ylang oil, and the white soaps are without the tea leaves.

This is just a friendly reminder for people who are new to DIY zerowaste toiletry products: Don’t expect them to be the same as conventional items. Most of the ingredients are from nature, and there is a limit to resemble the chemical effects of factory-made toiletries.

For me, the main motivations for making my own zerowaste products are the value of sustainability, the benefits of natural ingredients, and how they make me feel. Using my handmade toiletries makes me feel self-cared, mindful in my mundane activities of washing myself. It’ll take time to get used to their natural textures, fragrances, and how they work, so explore different methods and experiment with various ingredients you want to try.

Categories
Grad Design Studio Fall 2021

Making Paper at Home with Locally Sourced Items

Prompt 3: Discourse

When I started working on prompt three, choosing a reading from our syllabi was pretty easy. Since my interest has been mainly focused on sustainability, I picked Resilient Systems by Manzini right away. However, I didn’t see how much I would struggle to find a connection between my making practice and the article for my prompt.

After reading renowned scholarsā€™ established opinions on sustainability, I felt so inspired but also overwhelmed and helpless at the same time. Is there something NEW I can contribute to this discourse? Will I ever be able to design something that is truly ā€œsustainableā€? My practice in sustainability design felt so tiny and unimportant, especially considering the open studio event with possible thesis supervisors.

During one of our studio practice sessions, Cameron gave me important reminders / helpful questions, which helped me navigate the process immensely. Everything started falling into my lap shortly after the conversation. He said, ā€œYour making should be fun! You are not in a working environment. You are a student, and probably for the last time in your life. What does being small, local, open and connected mean to you? What does extreme locality mean to you?ā€

I started drawing this mindmap to explore my connections between the article and myself trying to answer his questions. As you can guess from the mindmap scribble above, I decided to make my own paper at home inspired by my childhood memory of making Hanji(Korean traditional paper). I found this excellent tutorial on making paper at home, and I sourced most of the materials that I needed practicing the SLOC(small, local, open and connected) model from Manzini’s article. https://www.instructables.com/Homemade-Paper

1. Resources

  1. Paper waste produced at home
  2. A picture frame as a mould, mixing spatula, blanket from Value Village
  3. A dishwashing sponge and blender from home, the scrap of Teflon sheet from Warren, my housemate
  4. A secondhand window screen from Sharon, who I met from Vancouver Facebook Marketplace
Receipt from Value Village

2. Making

2-1. Preparing Paper Pulp

I cut paper box scraps into little pieces, soaked them into water overnight, and then blended them until the mix had the consistency of a thick soup.

2-2. Molding the Paper

I put the frame on top of the window screen and started pouring the mix inside the frame. I used the spatula to even out the pulp. The pictures above are from my first attempt, so the pulp is more bumpy and rough than it should be.

2-3. Pressing Out the Water

The original article says the best material to squeeze the water out is using a nylon mesh, but instead, I used a scrap of Teflon sheet that my housemate had. Anything that the pulp wouldn’t stick to is fine. I gently squeezed the water out using the sponge until I couldn’t hear the water draining from the mixture.

2-4. Drying

I put the paper underneath heavy books for a couple of hours to weigh down the edges of the sheet and squeeze extra moisture out. Then I put them around the house where it’s warm and dry.

If you don’t spread out the pulp thin enough, it takes quite a bit of time to dry out. But if it’s thin enough(like the picture from my fourth attempt above), it takes about a day to dry.

3. Playing

After I got comfortable with the process, I started playing with the pulp batch and mixing different materials around the house.

Turmeric Powder

Ground Coffee

Chilli Powder

Autumn Leaves

4. Outcome

I was pretty happy with how the paper turned out, especially those with turmeric’s colour. The one that is the roughest at the bottom left is my first sheet, and the ground coffee one at the top right is the latest.

I loved the organic aesthetic of the stems of leaves that left marks on the paper as well. Creating something this beautiful out of waste made my eyes open towards the possibility of material things.

Embroidery Credit Thanks to everyone who contributed to this project!

Categories
Grad Design Studio Fall 2021

Visual Interpretations of Words with Typographic Material

Prompt 2: Material

Working as a graphic designer, I developed this fear around typography, such as not using the right typeface will make me look unprofessional. As the description of the second prompt says, I wanted to use this daily making practice to help me get out of my comfort zone and confront whatever fear I have towards my general design practice.

After discussing this idea with Cameron, I decided to pick a random word and create a poster each day, exclusively using typographic elements only. I already had so many words floating around my head from a recent challenge in my life, so I immediately made a list of words and started creating.

Considering the context of origin, the origin of my words, and why these words mattered to me in the ways I expressed is how my brain works around difficult times. I always seek meaning in my feelings from life experiences. I am currently processing a type of loss, and throughout this particular prompt, I found this activity quite therapeutic. I can see myself continue the prompt, and I am excited about where this practice will lead me next.

#1. Love

Love is a streamā€”itā€™s continuous. but love often does the opposite of streamā€”it stops. If it comes; let it. If it goes; let it.

Love feels very fluid for me right now. It feels like it has its vitality and life span that no one can guess or control, but that is the beauty of love. It flows, comes and goes, and I cherish as the way it is.

#2. New&Old

New things get old. Just like the old things did. -Take this waltz(Toronto international film festival, 2011)

This line is from one of my favourite movies that I watched more than ten times. Ever since, the concept and relationship of New&old is something I always try to be aware of, especially around people and emotions. New things are shiny, but new things eventually get old too.

#3. Transformation

Allow yourself to transform as many times as you need.

Butterfly is a dominant image of the word “transformation” to me. It feels warm, feminine and somewhat magical. While I was working on this, I thought of Sailor Moon. Whenever she turns into a superpower being, sparkling stars surround her, and I wanted to capture that image in the expression of the word.

#4. Forgive

The root of ā€œforgiveā€ is the Latin word ā€œperdonare,ā€ meaning ā€œto give completely, without reservation.ā€

Luckily, I donā€™t need to think or use the word “forgive” often. However, I believe it is important to remind ourselves about self-forgiveness every now and then. The word feels like it lays at the bottom of all the layers of other feelings, and sometimes I donā€™t realize forgiveness needs a place inside me.

#5. Peace

You can find it within yourself.

A lot of my thinking process centers around finding inner peace. Peace has to come from inside me, and sometimes it may seem challenging to manage. But at the same time, I know it is always there, and all I need to do is look for it.

#6. Possibility

When there is nothing, there is the possibility of everything.

Possibility brings excitement into my life. I never know where it will lead me, and that is the beauty of it. I wanted to find a way to express its liveness through the typography, and I ended up making each letter almost look like an alien or some creature.

#7. Growth

Growth and comfort don’t coexist.

The word “growth” reminds me of trees and leaves. I love looking at a leaf’s skeleton when I walk in the woods, and that image came to my mind while I was working on this word.
Growth can be painful because it usually occurs when you step out of your comfort zone. However, I know I will look back at it and be grateful that I allowed it to happen.

#8. Freedom

That is what I want to feel every day.

#8. Freedom

Deep understanding requires active listening.

Categories
Grad Design Studio Fall 2021

Gifting a Sense of Home

Prompt 1: Gift

Gifting A Sense of Home

As someone who has moved around a lot, a sense of home became quite significant to my physical and mental well-being. So when I move somewhere new, I always try to take a few things with me that will make me feel grounded.

I met Aamir for the first time when I went on a campus tour before the semester started. I remember him telling me he is still looking for a place, and he almost got scammed once from organizing house viewings. After getting matched as a pair for this prompt, I got to know him more in-depth, but I could not stop thinking that he is still looking for a place to call home. I understand how it could add another layer of stress to your day-to-day life, especially when you are also in a new country for the first time.

To me, home is where you can unwind, rest, and recharge. Home is where your day starts and ends, and you come back whenever you need to. Home is your sanctuary. I started brainstorming about the types of gifts that could give him a sense of home, also as a housewarming gift.

During the prompt, I went to Burnaby mountain for a hike with some of my housemates. We were looking for a washroom, so we had to get off the track for a bit.

And I saw this quote, ā€œYou are exactly where you should be.ā€ written on the path. I know it is one of those cliche quotes everyone must have seen somewhere, including myself, but this sentence resonated with me during the whole hike.

On the same day, I came home and decided to draw Aamirā€™s face, write the quote at the bottom, and frame it as a gift. However, since I have met Aamir recently, I struggled a little to get the image I wanted to capture from his face.

While I was thinking and making this gift, I realized how important it is to have someone going through a similar situation. I am still experiencing some significant life changes like every other new international student here. From this prompt, I learned to remind myself and others that we are exactly where we are meant to be!